
Atta or whole wheat flour flatbread dough is the simplest dough that is used to make Indian flat breads like rotis and paranthas and is a must have in every Indian kitchen. Whole grain, healthy, vegan and made with just 2 ingredients - whole wheat flour and water!
Rotis or whole wheat flabreads are an everyday staple in most North Indian and especially Punjabi kitchens. Rotis as well as paranthas are made with this earthy tasting unleavened whole wheat flour dough made just with two ingredients – whole wheat flour and room temperature water.
Before the days of the stand mixer, I have been kneading the atta or this whole wheat flour dough with hand. Can't say that it was my favorite thing to do, but I have included the instructions to make this dough without the stand mixer as well.
Jump to:
✨What you'll love about this recipe?
- Just 1 main ingredient - I mean do you really want to call room temperature water an ingredient? Sure, then two ingredients - whole wheat flour and water.
- This dough does not have to rise - since this whole wheat flour dough is unleavened, it does not need to sit and rise (like the healthier homemade naan dough) and the flatbreads can be made right away.
📋Recipe Ingredients

- Whole Wheat Flour - I usually buy whole wheat flour for this recipe from an Indian store but the recipe works just fine with most whole wheat flour brands available at regular grocery stores.
Don't forget to check out the recipe card below for quantities.
👩🍳Steps to make this recipe
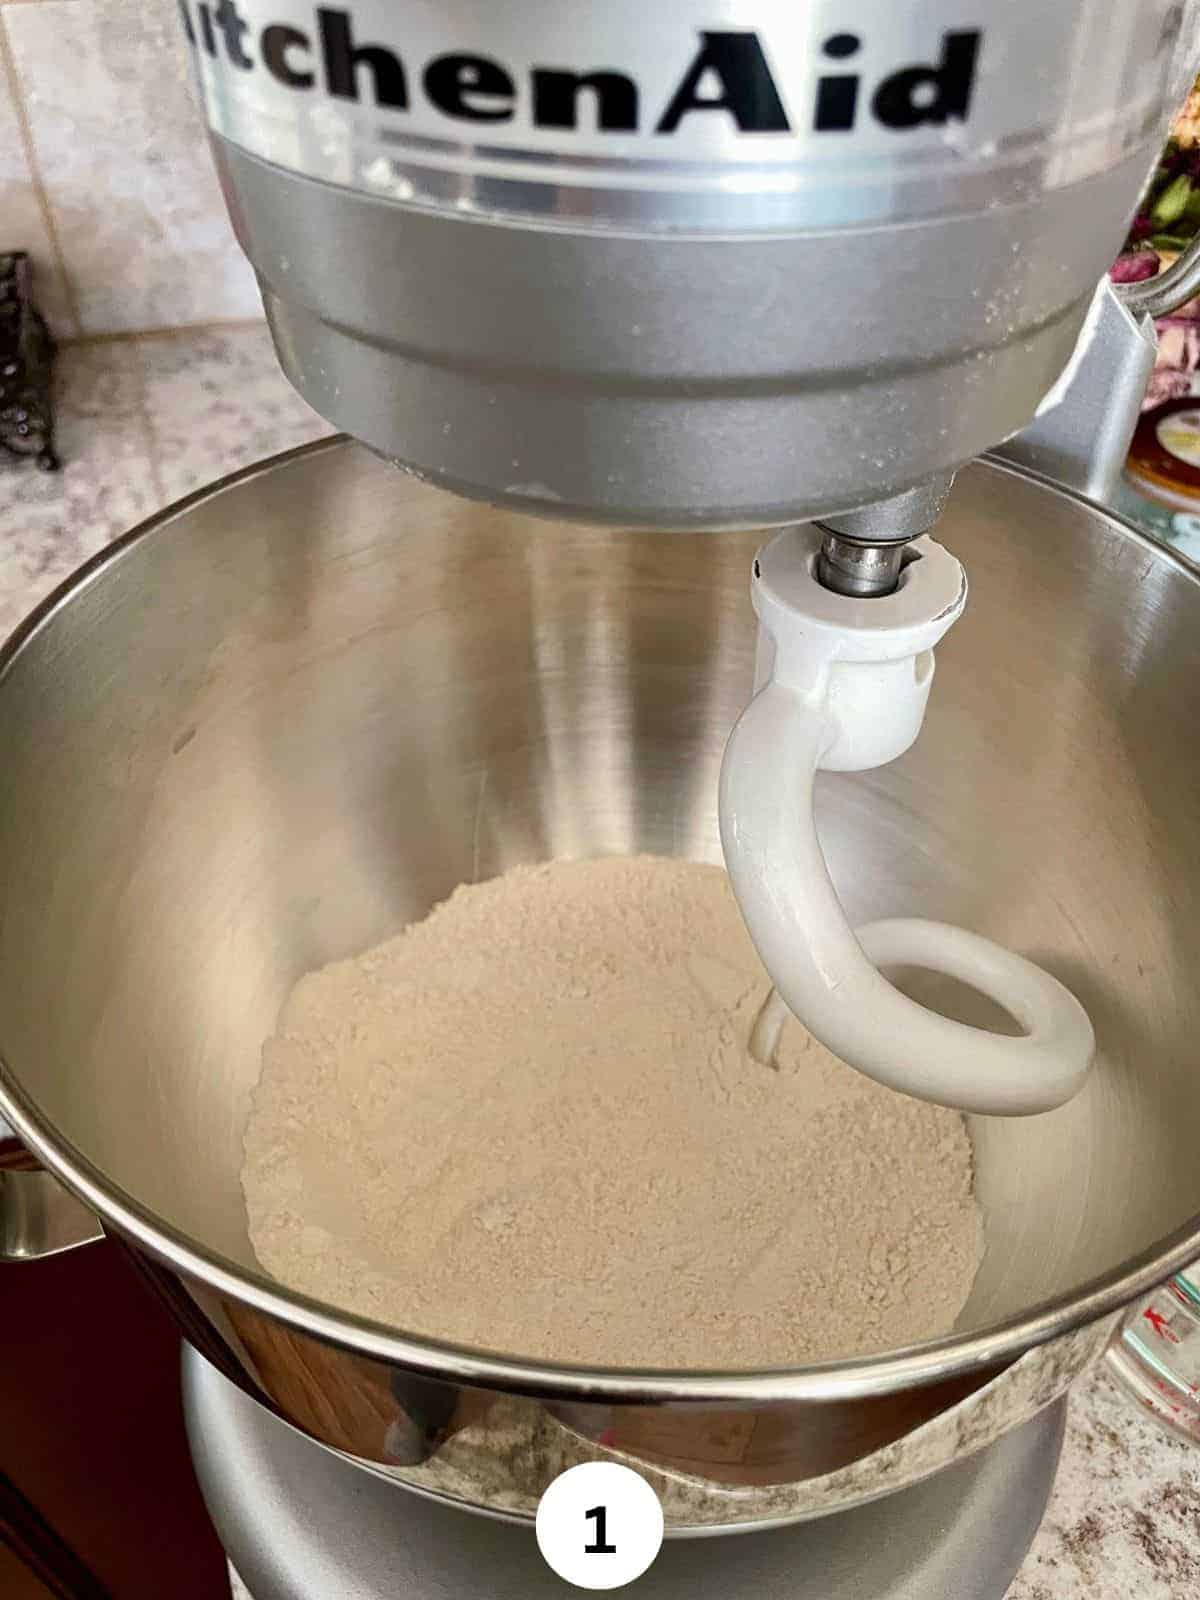
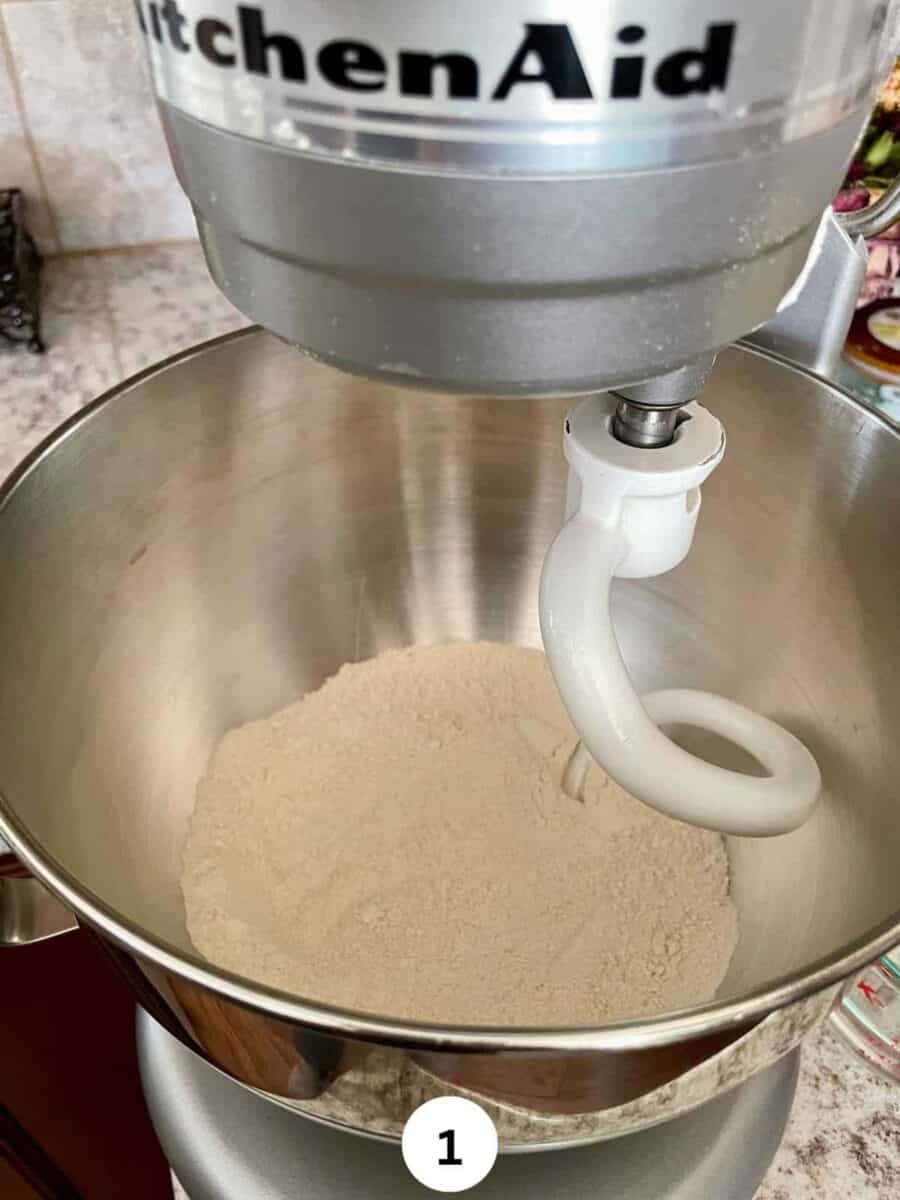
Step 1: Add the whole wheat flour to the bowl of your stand mixer fitted with the dough hook (Image 1).
Step 2: Slowly add the water and turn the mixer on medium high speed (Image 2).

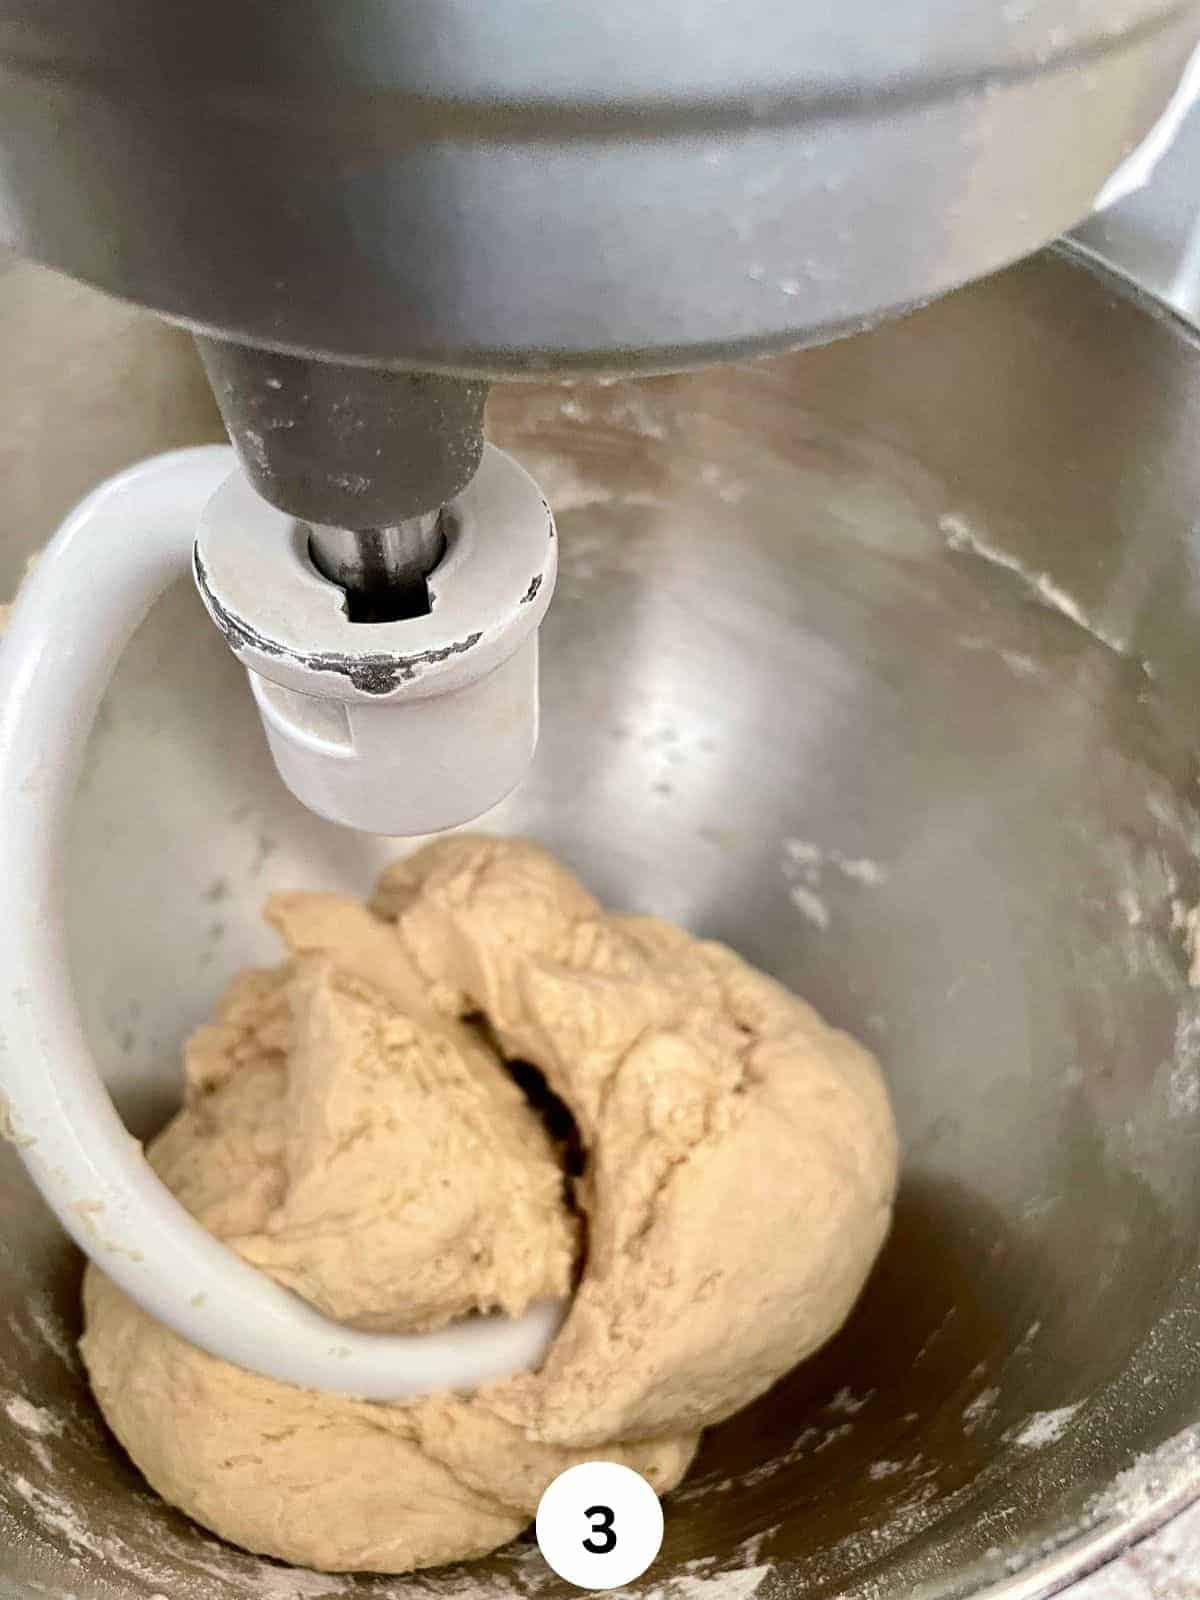
Step 3: Continue adding water as the dough begins to come together. Once it's done, turn the mixer off and let the dough sit for a few minutes so that the gluten can work it's magic (Image 3).
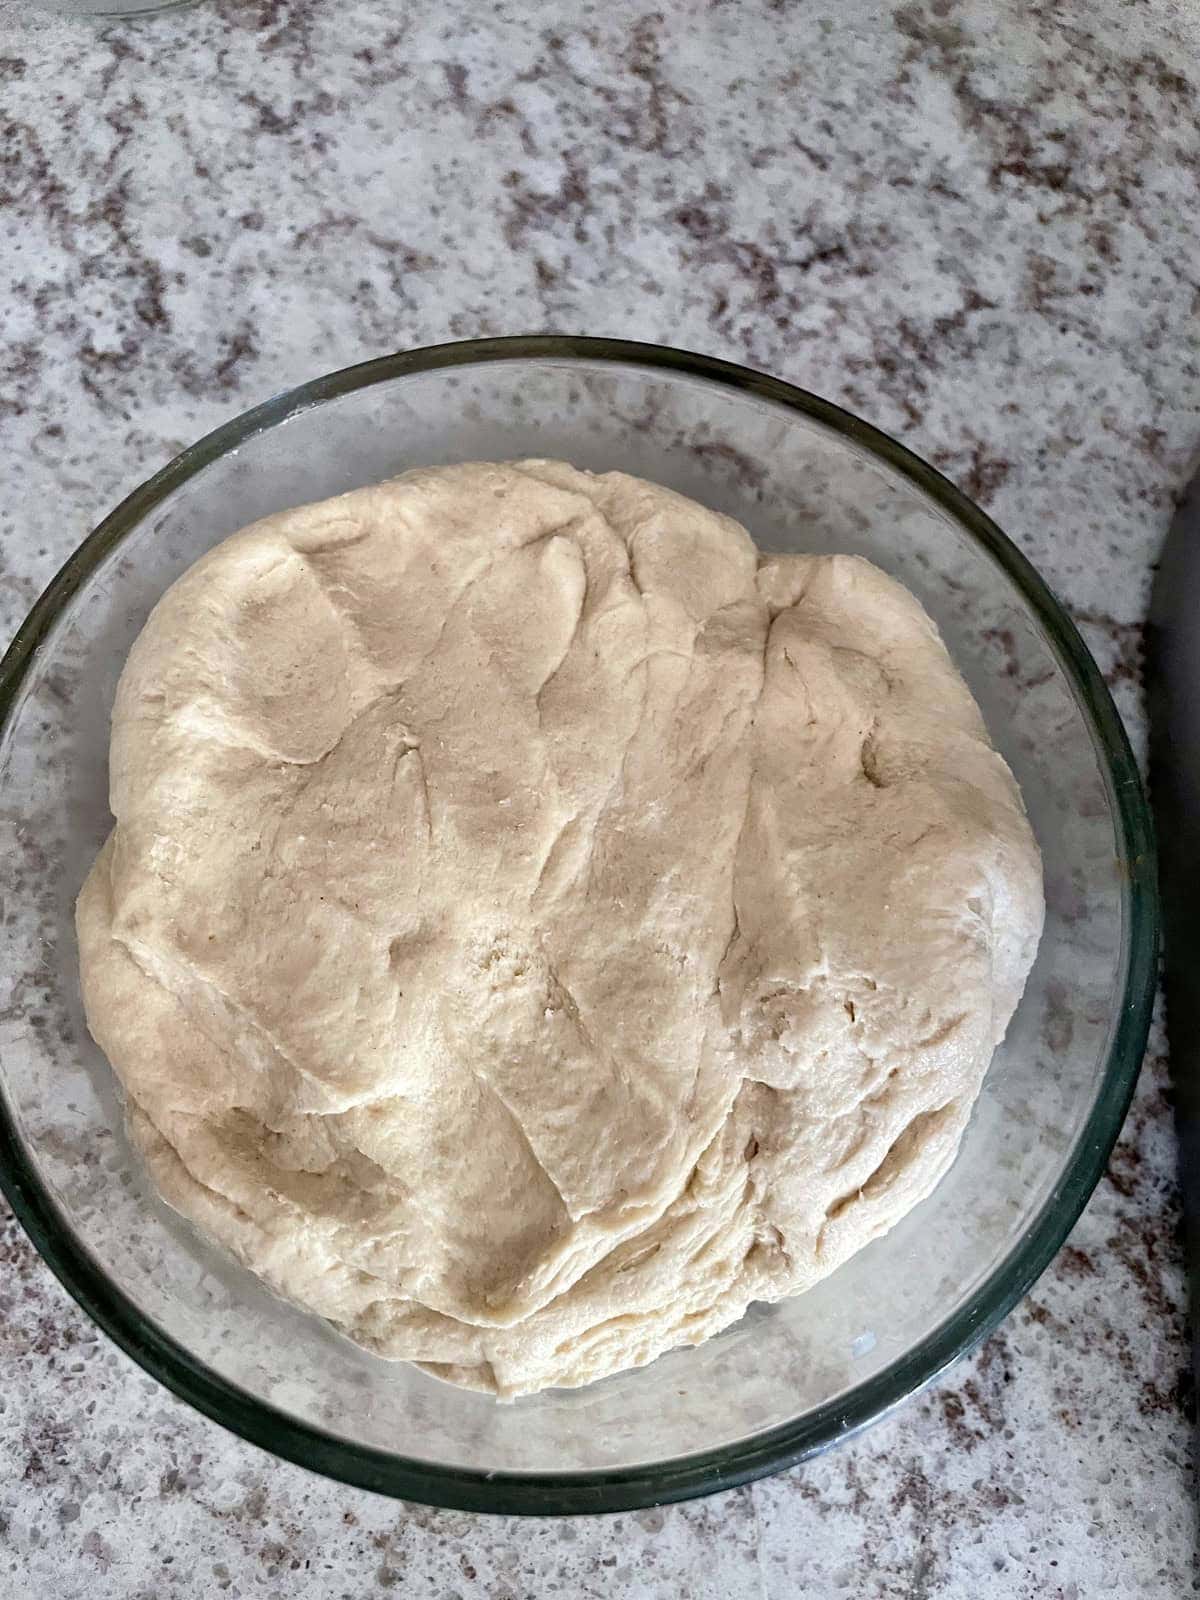
Step 4: Give the dough a final mix at medium high speed for a couple of seconds. The dough should not be sticky at this point and should completely come of the walls of the bowl (Image 4). Your whole wheat flour dough is ready to make some flatbreads!

💡Vaishali's Tips!
- Use room temperature water - it is easiest to work with room temperature water in this recipe.
- Let the dough sit before giving it a final knead - helps activate the gluten and make a smoother, non-sticky dough.
- The water to dough ratio - can vary according to the brand of flour you use, the temperature of your kitchen and also the humidity. Start with 1 cup of water for 2 cups of flour and then go from there.
- Troubleshooting -
Kneading by Hand
In a wide, shallow mixing bowl, add the flour and make a well in the center. Add a cup of water and start mixing. If you need more water, keep adding it in small increments, till all the flour is just wet, but not sticky.
At this point start kneading with the palms of your hands, applying some pressure. Add more water if the dough seems dry. Cover the dough with a kitchen towel and let it rest for a five minutes. After the dough is rested, knead it some more till you get a smooth ball of dough
Troubleshooting your dough
- The dough is too hard to roll - Before the final knead if the dough seems to hard or tight, it will be difficult to roll out the rotis. So add a tablespoon of water before the final knead to make sure that the dough is just right. I admit that I am more of soft dough kind of a person. Though it might be initially hard to shape perfect round rotis with this atta but I promise practice makes perfect in this case. Also it takes less effort to roll this dough out. And a round circular roti tastes no different than a roti in the shape of a country’s map 😛.
- The dough is too soft to roll or sticky - Sprinkle a little bit flour until the dough is not sticky or too soft. Let the dough sit and knead until smooth.
📖Substitutions and Variations
- Multi grain flour - Indian stores also sell whole wheat flour mixed with multigrain flour in 3:1 ratio and you can use this same recipe with the multi grain flour as well.
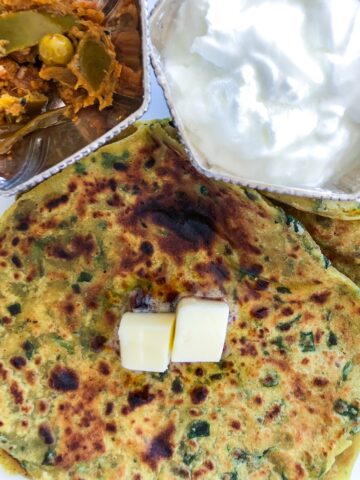
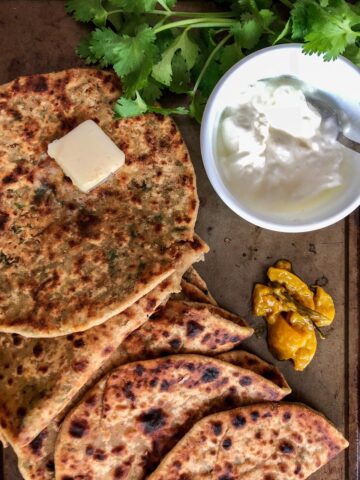
- Additions - This is the basic whole wheat flour dough recipe and you can add several different things to, especially when making paranthas. Some popular things to add to the dough include leftover daals, chopped spinach for spinach paranthas, salt, turmeric, garlic, and garam masala for masala paranthas etc.
Equipment
the best!
My Kitchenaid Stand Mixer!
The best countertop appliance in my kitchen that is work horse and is going strong for more than a decade!
🫙Storage and freezing instructions
- Refrigerate - store any leftover dough in airtight container in the refrigerator. Use within 2-3 days. Take the dough out of the refrigerator 15-20 minutes before making flatbreads so that it softens.
- Freeze - smoothen any leftover dough into a ball and tightly wrap in plastic wrap. Cover the wrapped ball in foil and store in a freezer bag for up to 2 months. Thaw in the refrigerator and then use within a day.
- Batch prep - you can double the recipe and then divide the dough into 4 balls and follow the freezing instructions above.
❓FAQ
I recommend using Aashirwaad Brand Atta for this recipe. But any good quality flour will work.
Related
Looking for other recipes like this? Try these:


If you make this recipe be sure to leave a comment and let me know how you liked it! Share it on Instagram with the hashtag #thekitchendocs or share on Facebook, too.
Love – Vaishali

Whole Wheat Flour Dough
Equipment
Ingredients
- 2 cups whole wheat flour
- 1.25 cups water room temperature water
Instructions
If Using Stand Mixer
- Fit your mixer with the dough hook and add flour to the mixing bowl. At medium low speed, start adding water – about 1 cup.
- Add more water, may be a tablespoon at a time, till the dough starts to come together. Once all the flour has become wet, increase the speed of you stand mixer to high and continue mixing for a minute or so.
- At this point, turn the mixer off and touch the dough to feel if it is at your desired consistency.
- Then let it sit for 5 minutes to let the gluten develop. After 5 minutes, start mixing at high speed and continue till the dough leaves the sides of the mixing bowl and is smooth.
- Store the dough in a container with a lid and store n the refrigerator till ready to use.
If Kneading by Hand
- In a wide, shallow mixing bowl, add the flour and make a well in the center. Add a cup of water and start mixing. Keep adding water, till all the flour is just wet, but not sticky.
- At this point start kneading with the palms of your hands, applying some pressure. Add more water if the dough seems dry. Let the dough rest for a few minutes.
- Store the dough in a container with a lid and store n the refrigerator till ready to use.


Leave a Reply