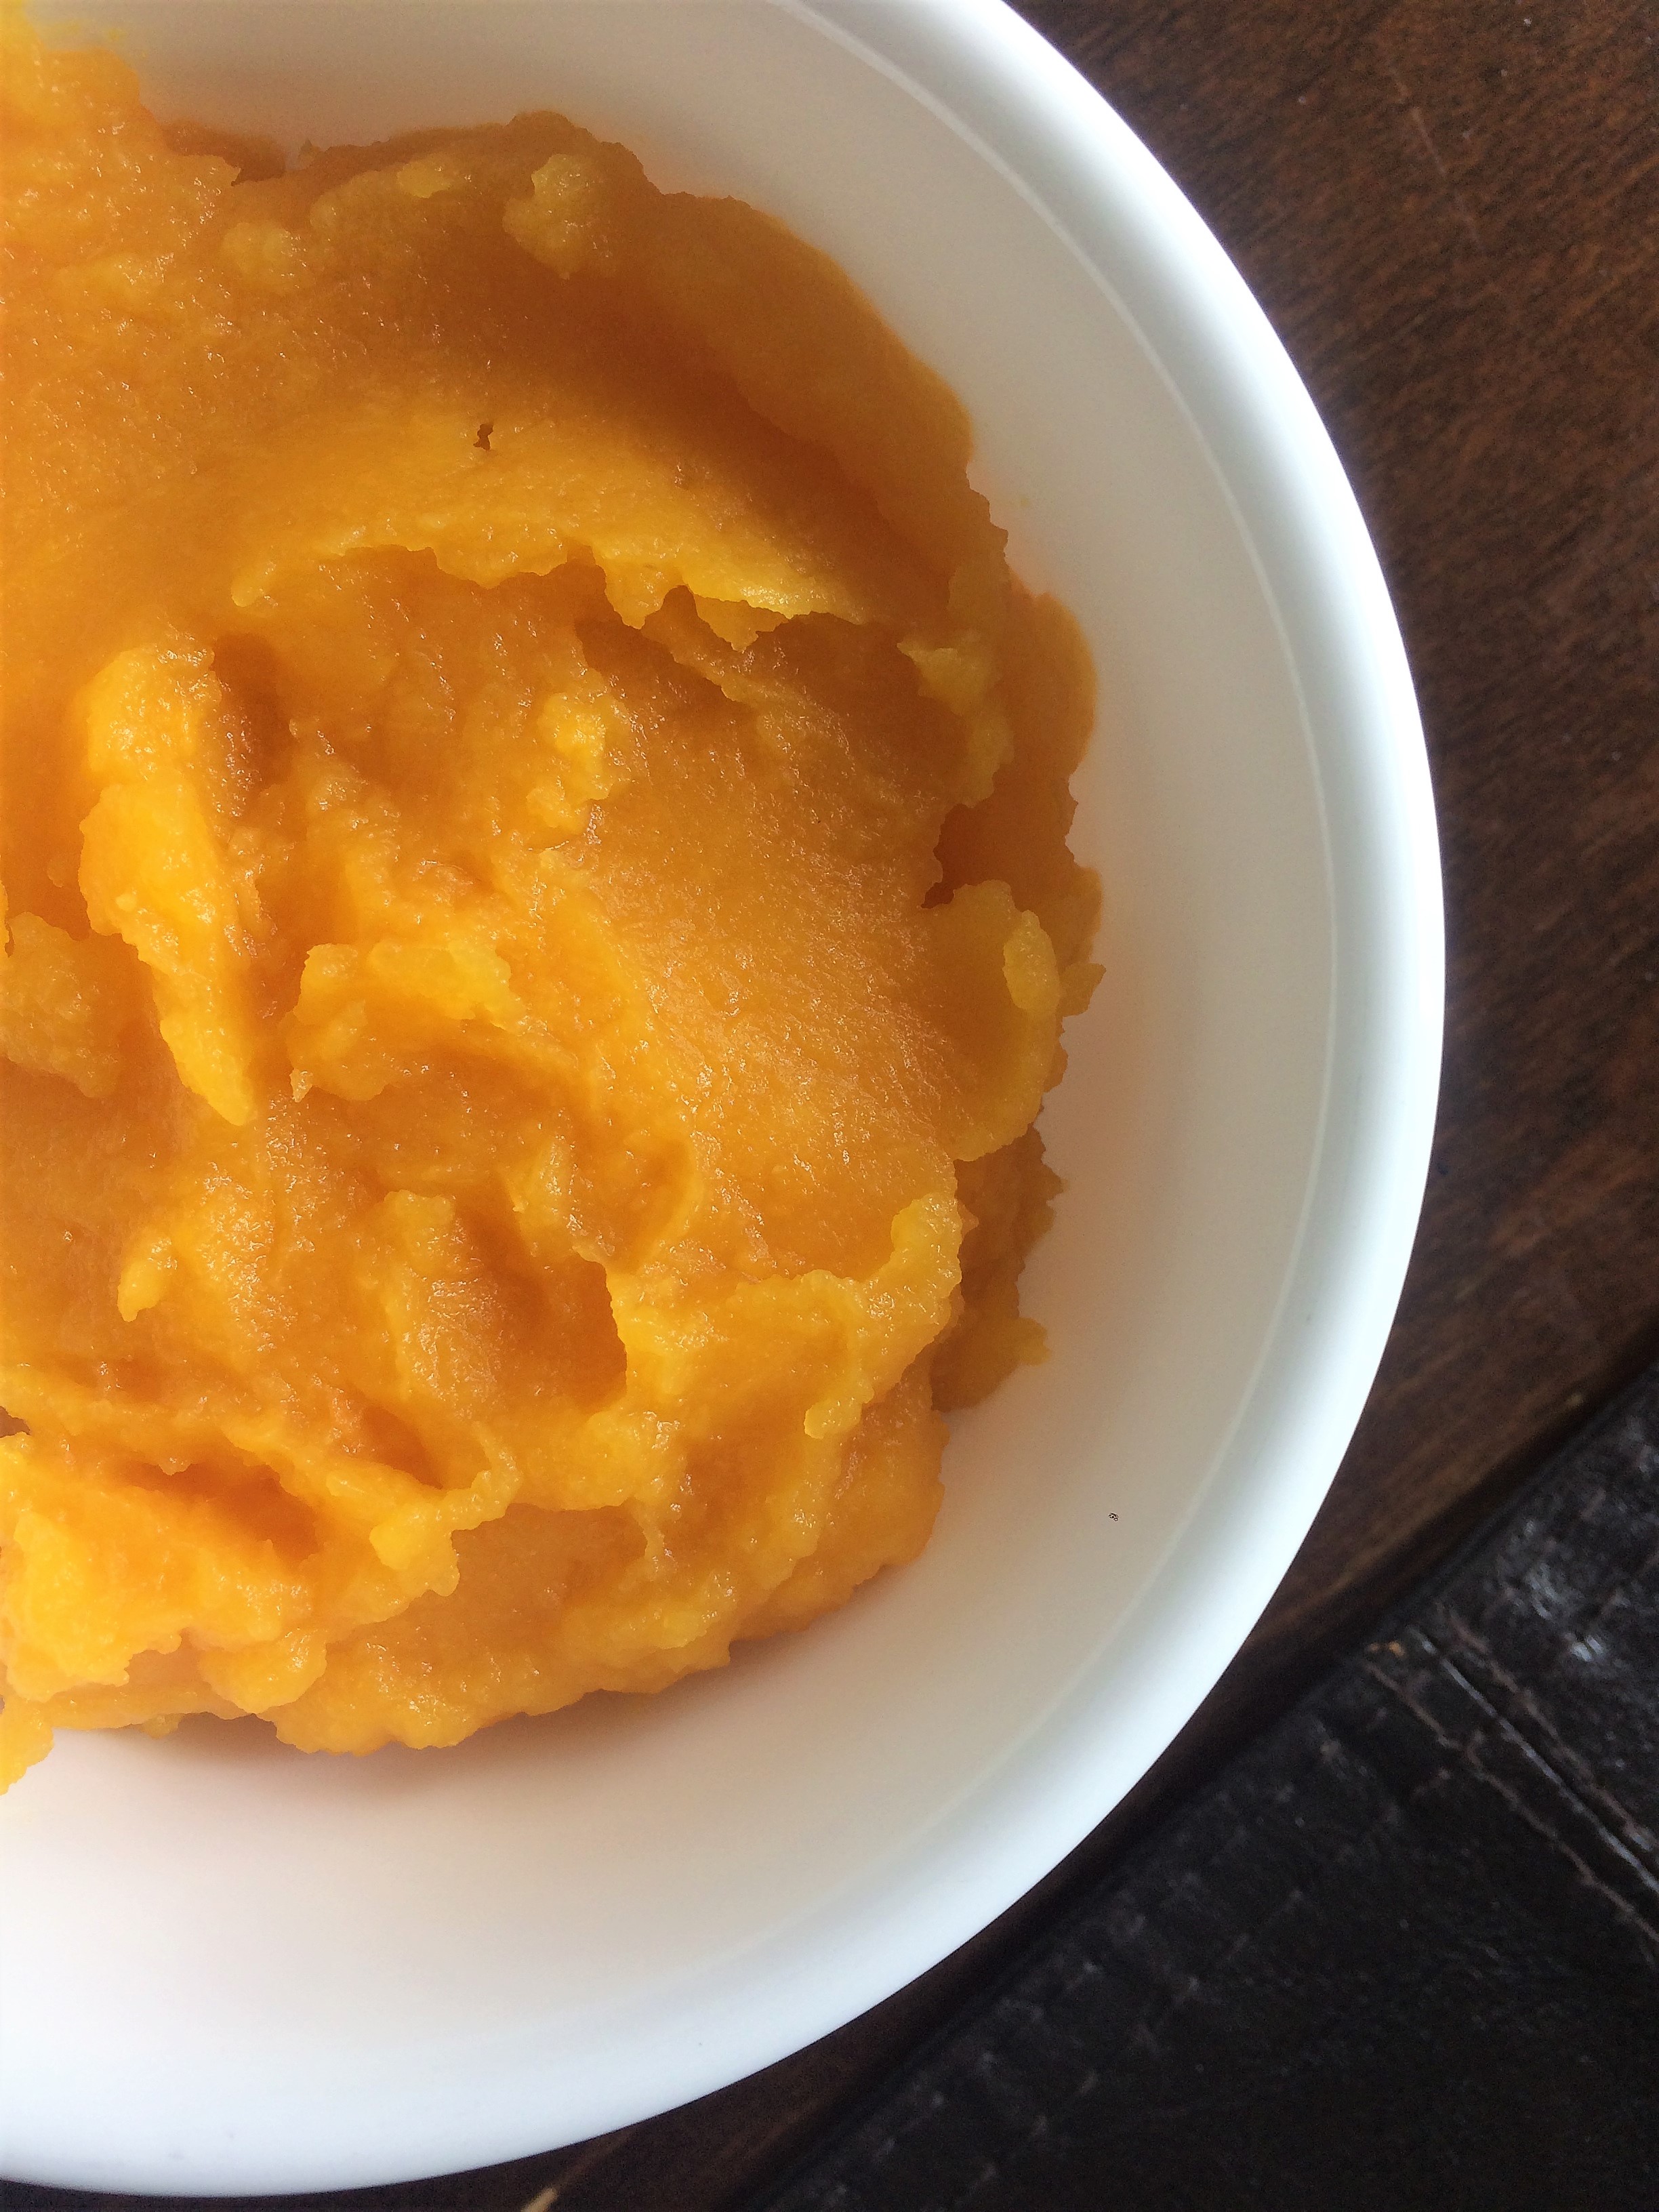
Do you really need homemade pumpkin puree recipe in your life? I mean its super easy to grab a can of pumpkin puree from the collection that absolutely takes over the “Holiday Baking” aisles of grocery stores – from organic to non-GMO to the regular, no-frills kind.
You see I have been trying to step in to some new shoes as a PTO mom at little V’s preschool and I have to say that I love it. Few weeks ago, the PTO organized a pumpkin patch tour and a bonfire for all the day care/ preschool families. It was a fun (but chilly) evening complete with hot dogs, hot chocolate and s’mores. Great fun was had and as we were wrapping up the night and pitching in to clean up after everyone had left, a fellow PTO mom gave me some pie pumpkins and suggested that I could make homemade pumpkin puree for all my pumpkin recipes this holiday season. And you know me, I had to give it a try. After some research and reading, I found out that it is, actually, very simple to make homemade pumpkin puree. Cut up the pumpkins, lay them on a baking sheet, bake, scoop out the pulp, blend, and store the puree. Of course not as simple as cracking open a can..but you see the point here – “homemade” and “not from a can”. Ha ha…need some justification here…:P
I got approximately 3 cups of pumpkin puree form two small pie pumpkins and I froze it in zip-top freezer bags until I am ready to use it. Next up – pumpkin bread – stay tuned!
Ingredient:
Pie pumpkins – 2, smallish
Method:
Preheat the oven to 350 degrees F or 180 degrees C. Line a cookie sheet with parchment paper.
Cut the stem off the top of the pumpkin and cut into quarters. Scoop out the seeds with help of a spoon. Lay the cut pumpkin pieces on the parchment-lined cookie sheet, skin side down. Bake for 45-50 minutes or until a paring knife can be easily poked in and out of the pumpkin pieces. Remove the cookie sheet from the oven and let the pumpkin pieces cool for about an hour. Once cooled, scoop out the flesh into the jar of a blender or food processor and puree until smooth. I added about a tablespoon of water to get the blender running smooth.
Store in the refrigerator up to a week or portion into 1-cup servings and freeze in freezer bags or mason jars. Thaw and use in cakes, muffins, pancakes, waffles, soups…endless possibilities my friends! Stay warm!!
Love – Vaishali.
Tools used:
Oven
Knife and chopping board
Cookie sheet
Parchment paper
Blender/Food processor


Kimberly Nickson
This would go great with my new low carb pumpkin waffles recipe!
Vaishali
oooh...pumpkin waffles sound great. Will have to check it out!