Me and ghee have been in a twisted love story of sorts. Growing up I hated ghee..I don’t know what it was – may be something about the smell that came when my mom would simmer butter (made by churning cream that collected in a thick layer on top of the raw cow/buffalo milk that she boiled every morning for our daily consumption) to make ghee, or may be it was something about the texture. But what I now know is that we have worked out our differences and I have grown to like and ultimately love ghee. You see ghee has been around for literally 1000s of years – an ancient super food. And it has been a part of Indian cooking traditions for even longer. Hindu mythological texts indicate ghee being used for cooking and to light a holy fire to offer to the Gods.
With it’s high smoke point, ghee has an edge over many other fats that we use for cooking. I use it at as a starting point for all my daal temperings, many curries, vegetable dishes, I slather it on whole wheat flat breads, stuffed flat breads and the list is endless. Traditionally, cream from boiled raw whole milk is collected, made “sour” by adding small amount of yogurt culture to it, and then churned into butter. This butter is then heated low and slow to remove water and milk fats and to release a nutty flavor. The heating is continued till the concoction changes to a liquid gold called “Ghee”.
My version of making ghee is easy and more practical. Here in the United States how do you go about to find raw unpasteurized milk and then collect cream from it? So skip to the the step where you buy unsalted butter from a store and go from there..:).
Time – 30 to 40 minutes
Ingredients:
Unsalted butter – 1 lb or 4 sticks (2 cups)
Method:
Set a heavy bottom sauce pan on medium heat. Cut each stick of butter into two and add to the sauce pan, so you should have 8 pieces of butter. With a small wooden spoon, stir the butter and turn the heat to lowest heat setting on your stove. Set your timer here for 20 minutes. During this time, keep stirring off and on. You will notice that the milk solids will start to separate and settle at the bottom of the pan. Remove any foam that collects on top. After 20 minutes, the butter should be close to getting done. At this time look for another layer of foam on the top, if it is there remove it not, if not – don’t worry – we will survive this. The liquid should be clear and you should be able to see the milk solids in golden color at the bottom of the pan. Watch these closely and don’t let these solids burn or turn too brown. So how to tell if ghee is ready – a clear golden liquid and golden/light brown solids at the bottom of the pan. Oh and that beautiful nutty aroma – see I told you we have successfully worked on our relationship – ghee and me…
Let it cool down in the pan for a few minutes and then using a steel mesh strainer, strain into a glass jar. Put the lid on the jar when completely cooled.
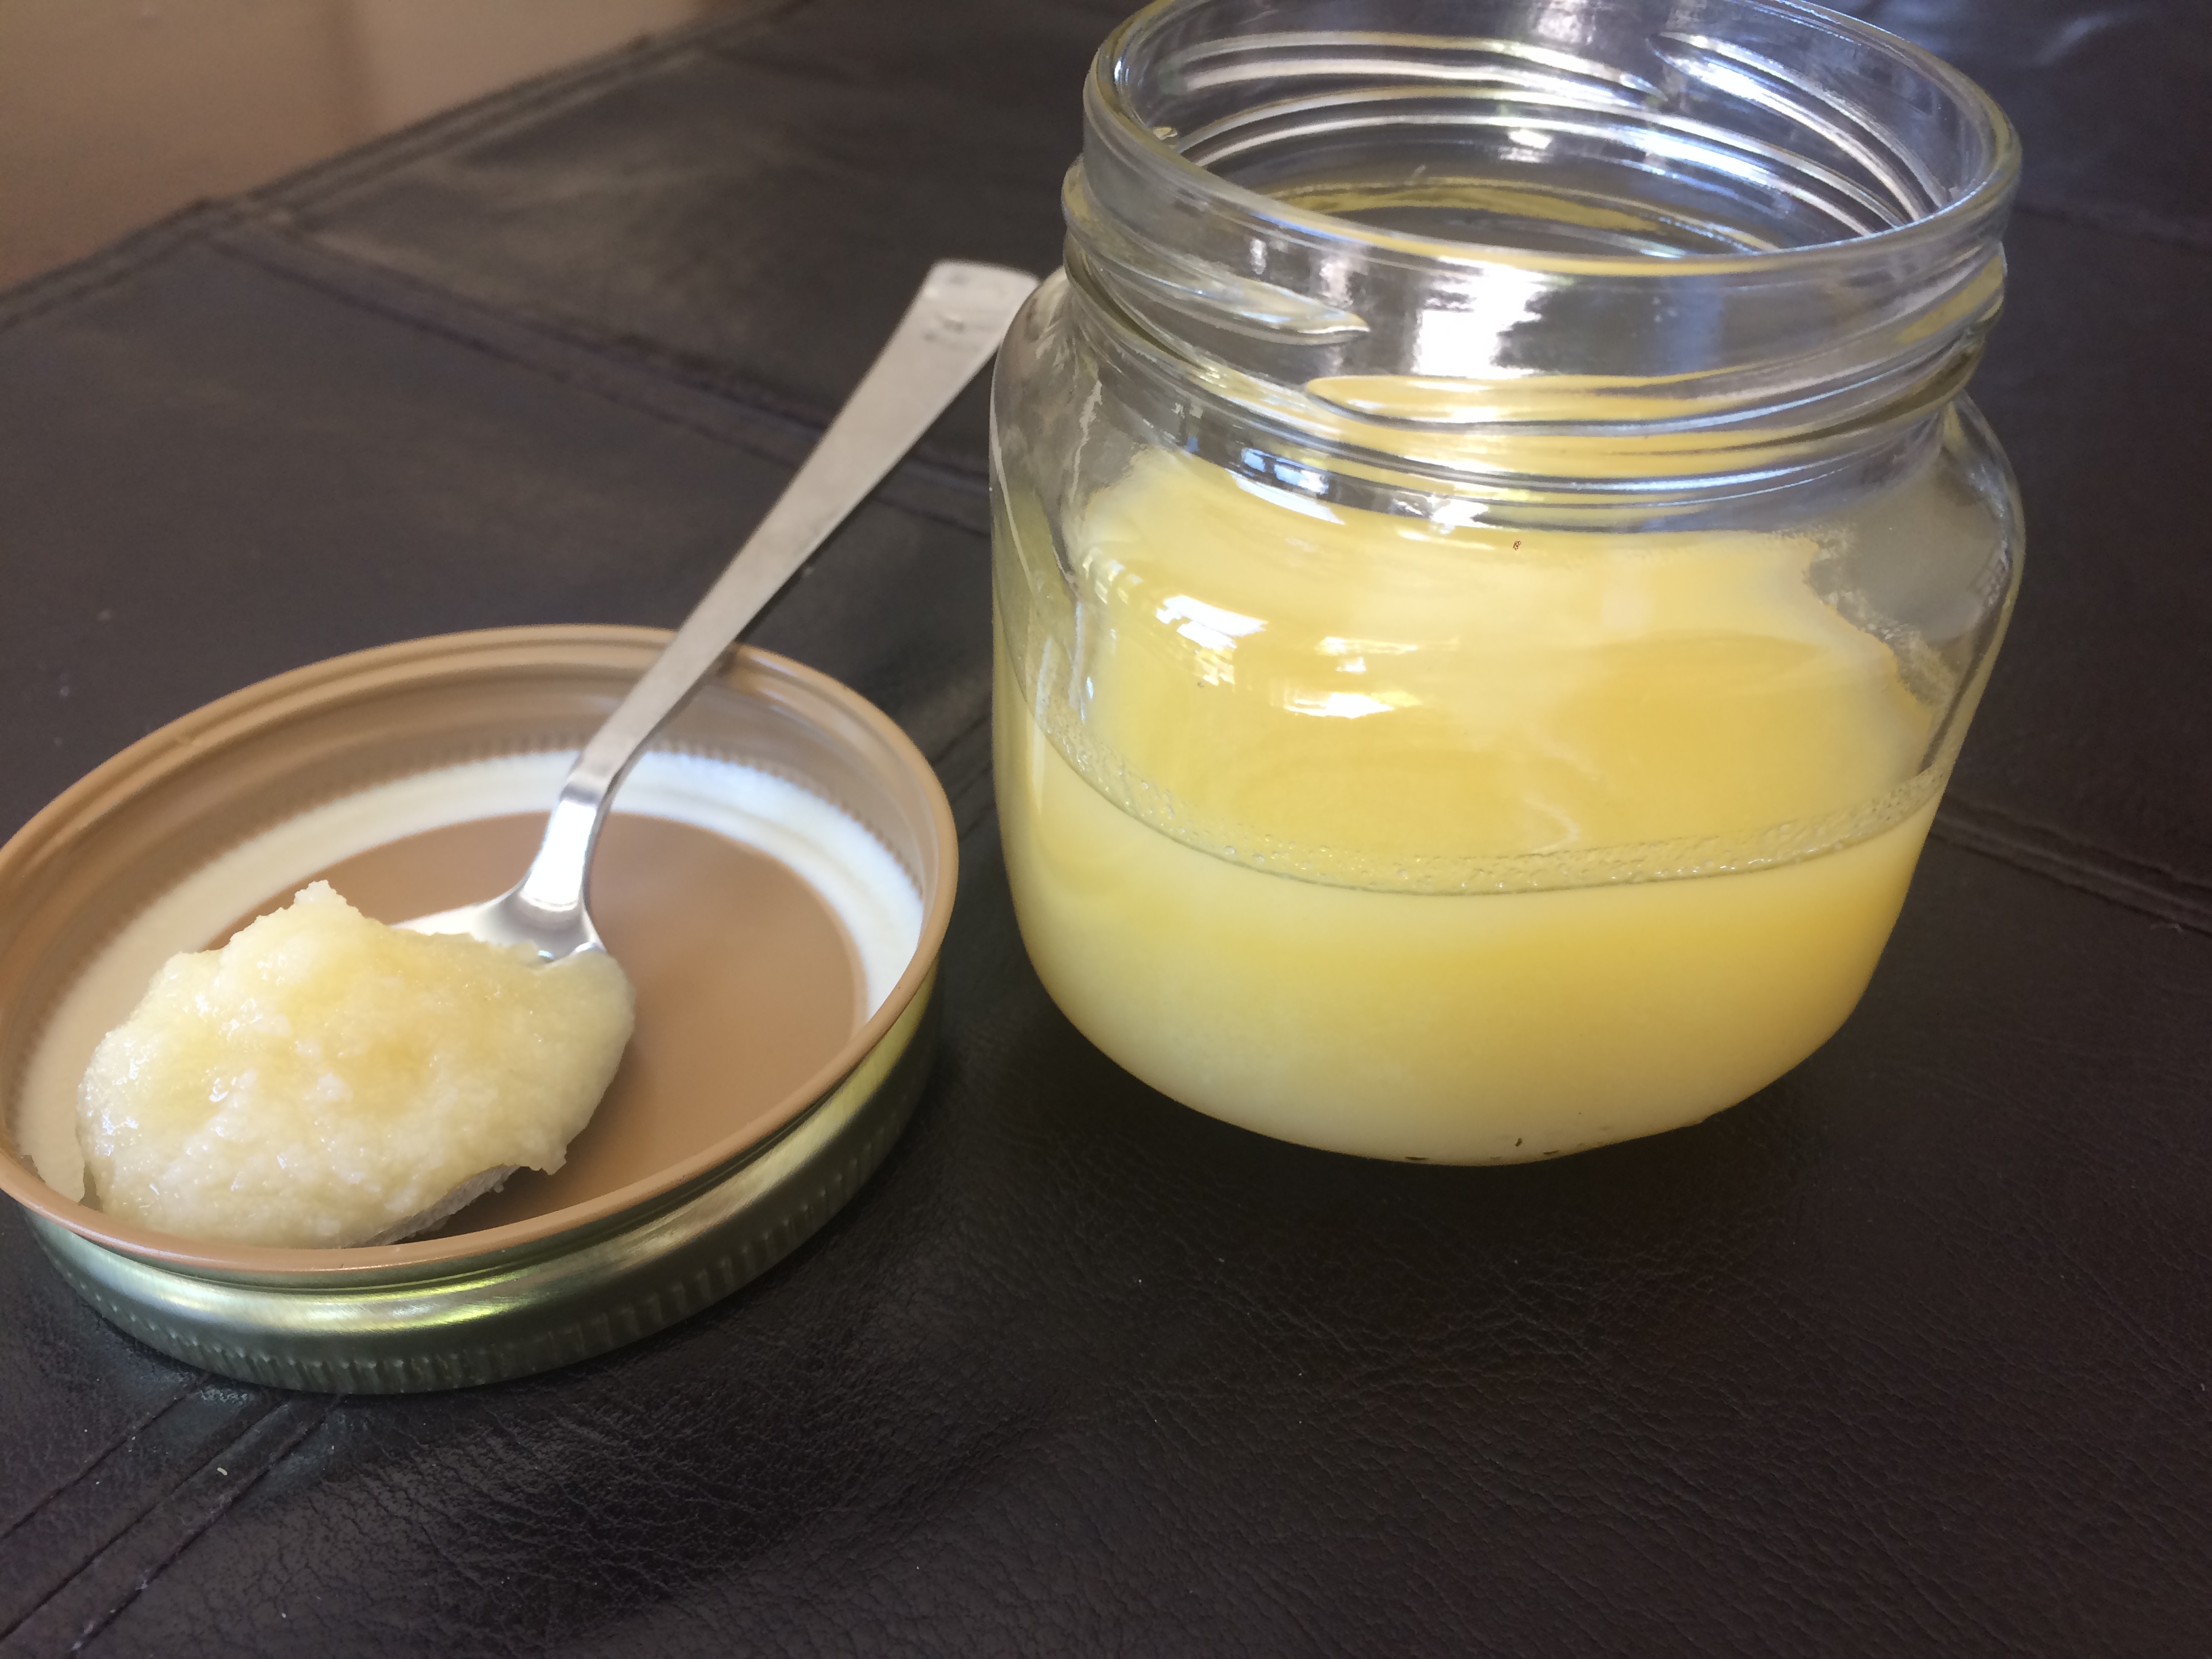
Ghee solidifies in cooler temperatures and turns into a pale yellow solid. It has a good shelf life. And since we go through a lot of ghee in our house, I just keep it on my kitchen counter but if you are not going to use it as frequently, you can put it in the refrigerator or even freeze it.
I hope you give this a try and introduce this beautiful, nutty flavor into your cooking.
Love – Vaishali.


Alexa
never tried it before sounds interesting