
Learn how to make thick, creamy dahi at home with just two ingredients — whole milk and a yogurt starter. No yogurt maker needed and you have your Indian yogurt recipe. Tips for setting dahi in any climate, plus troubleshooting for common problems.
📋 Recipe at a Glance
Whole milk + a yogurt starter. The simplest thing you will ever make!
- ⏱Time - 15 minutes active and then 5-6 hours setting time
- 🥛Ingredients - 2
- 📋Steps - boil the milk, cool, add culture, and set.
- 🌿Diet - Vegetarian, Gluten-free
- 🫙Equipment - No special equipment needed
- 👨👩👧 Servings - Makes 2 cups
Every Indian kitchen runs on certain staples, and homemade dahi (Indian yogurt) is among them. Growing up, a fresh batch was always setting in a warm corner—never store-bought. You simply saved a bit from one batch to start the next, keeping the cycle alive.
Moving to the US meant relearning how to set dahi. Between different milk and colder kitchens, it took trial and error to replicate the thick, tangy yogurt of my childhood. Dr. A has since perfected the technique, and this post shares everything we’ve learned along with our two-ingredient family recipe.
If you've never made yogurt, you'll find it's one of the easiest, most rewarding kitchen projects. If you dislike the texture of store-bought versions or are struggling to replicate the taste of home while abroad, this recipe is for you.
Enjoy it with my aloo parantha recipe, with any dal (my mixed dal recipe is a reader favorite), with chicken biryani or make raita with it, serve with any vegetable dish (like my paneer bhurji) or serve on the side to cool down the spice from any curry like rajma or matar paneer. Nothing beats using homemade dahi in my Punjabi Kadhi recipe.
Jump to:
- 📋 Recipe at a Glance
- 🆚 Dahi vs Yogurt — What's the Difference?
- 📋Recipe Ingredients
- 👩🍳Steps to make this recipe
- 👉How to make dahi in Instant Pot
- 💭Vaishali's Tips!
- 🫙Storage instructions
- 🌡️ How to Set Dahi in a Cold Kitchen
- 🔧 Troubleshooting — Why Didn't My Dahi or Yogurt Set?
- ❓FAQs
- Related
- Homemade Dahi Recipe (Indian Yogurt)
🆚 Dahi vs Yogurt — What's the Difference?
Though yogurt might be the literal English translation of the Hindi word "dahi", I do not think they are exactly the same. In Indian English, the word "curd" means dahi and not the curds you get when making cheese. If an Indian recipe calls for curd, it means dahi or yogurt.
The biggest difference between dahi or Indian yogurt or curd is the consistency and texture. Dahi is more "set" and has a mildly tangy flavor and less thicker than Greek yogurt. The western, store-bought yogurts are almost "slimy" and stringy in texture and thicker in consistency.
📋Recipe Ingredients
- Milk - this is the single most important variable in your dahi. Whole milk (full-fat) produces the thickest, creamiest, most flavorful dahi. Do not use skim or 1% milk — the lower fat content produces a thin, watery dahi that will disappoint you. The quantity is flexible — this recipe scales easily.
- Yogurt Starter or Culture - this is what turns your warm milk into dahi. We call it "khatta" but "jaag" is also traditional Hindi/Punjabi terms used for the yogurt starter. When you first start making dahi at home, you can get a starter from someone or use a store-bought plain, whole-milk yogurt starter; look for "live active cultures" on the label. Once you have made your first batch, save the starter from it to start your next batch.
Don't forget to check out the recipe card below for the quantities.
👩🍳Steps to make this recipe
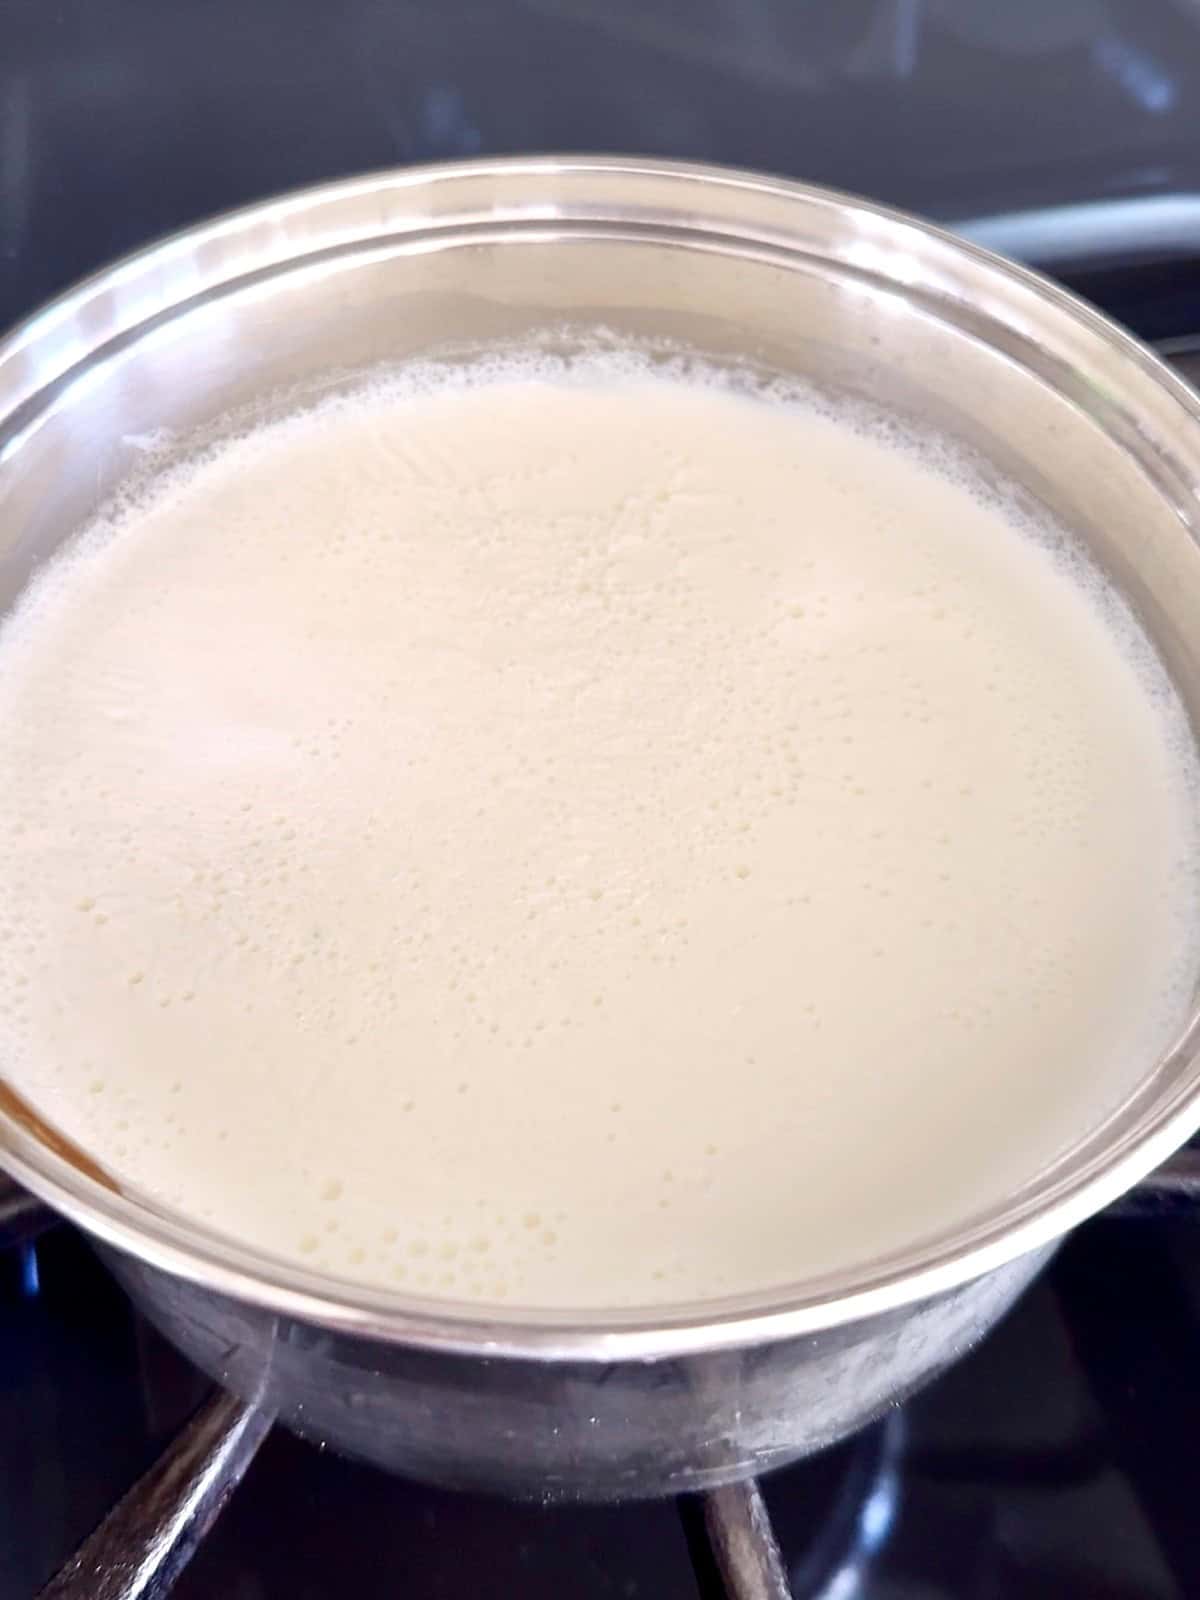
Step 1: Set a heavy bottom stainless steel sauce pan on medium high heat and add milk to it. Heat the milk to just below a full rolling boil.
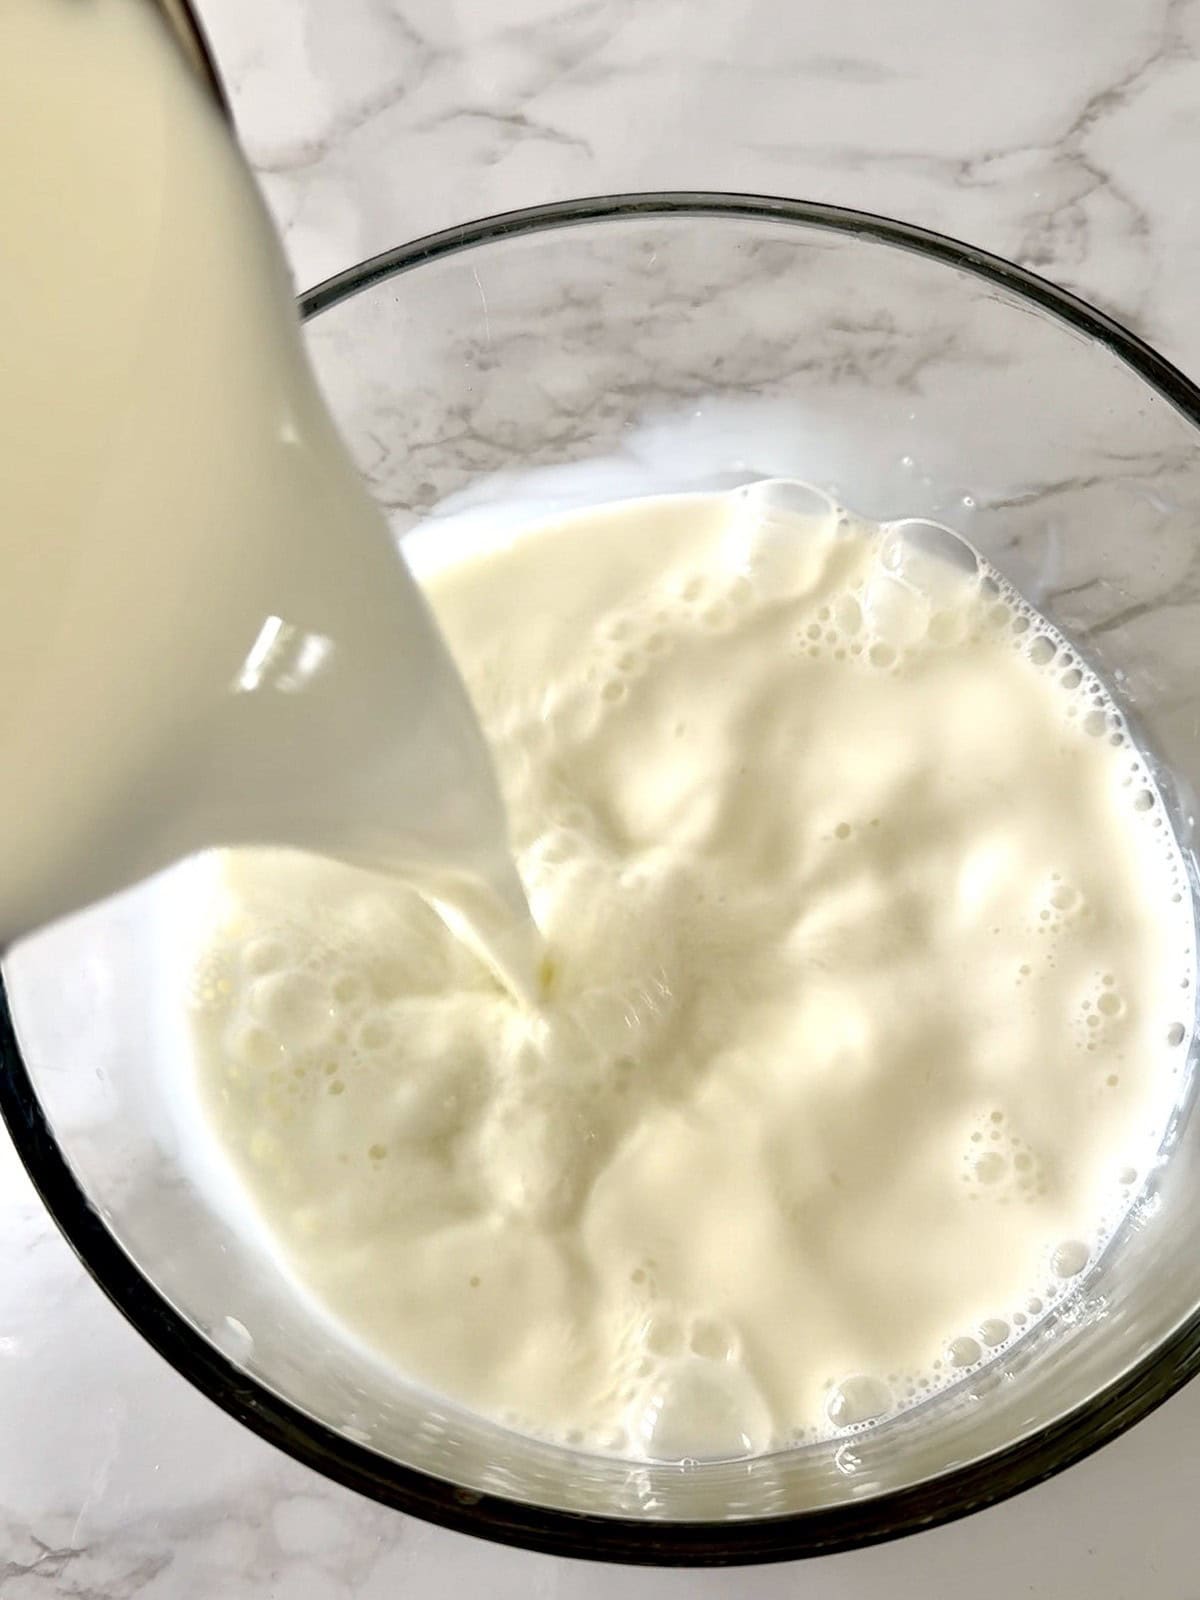
Step 2: Pour the milk into the container that you going to set your yogurt or dahi in. I recommend using a glass bowl with a lid. But any container with a lid should work.
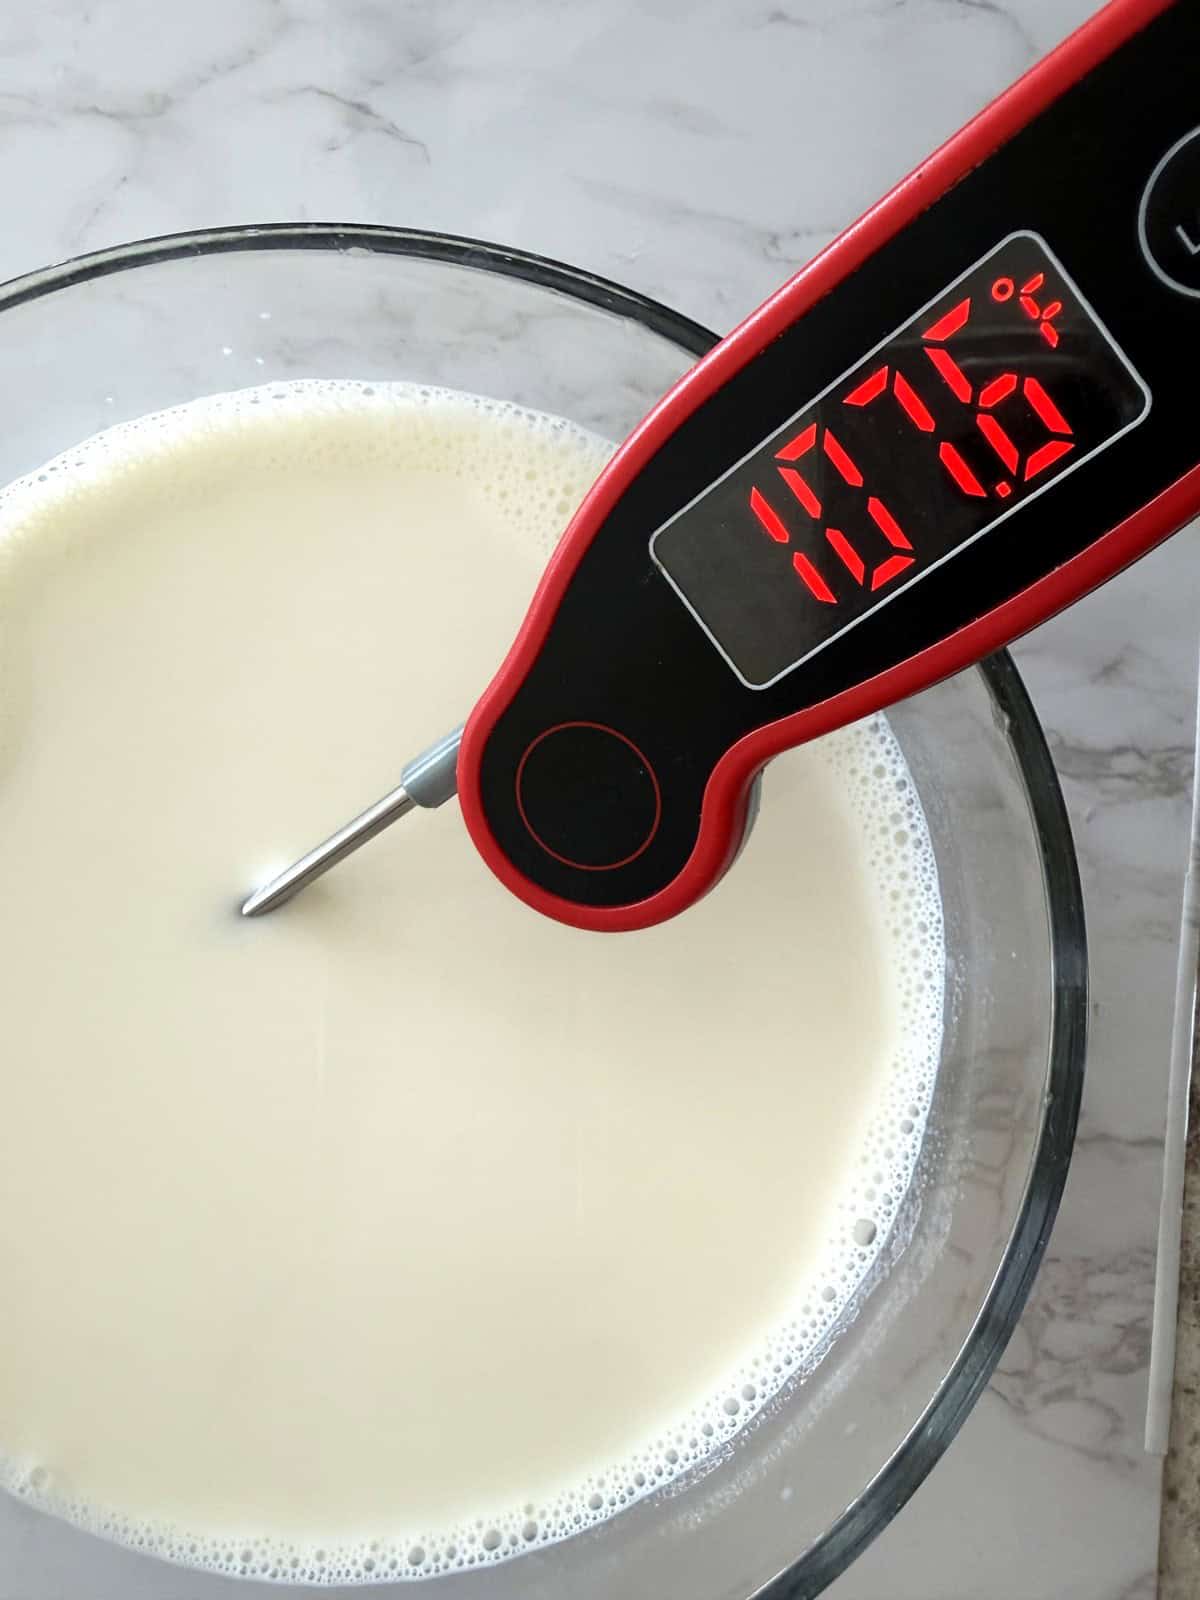
Step 3: Wait for a few minutes for the milk to cool down to a temperature of 105-110°F (40–46°C). You can use a thermometer for this, or simply wash your hands, dip a finger into the milk bowl, and count to three before the milk starts to feel hot on your finger.
Step 4: Add the yogurt starter or culture to the cooled milk.
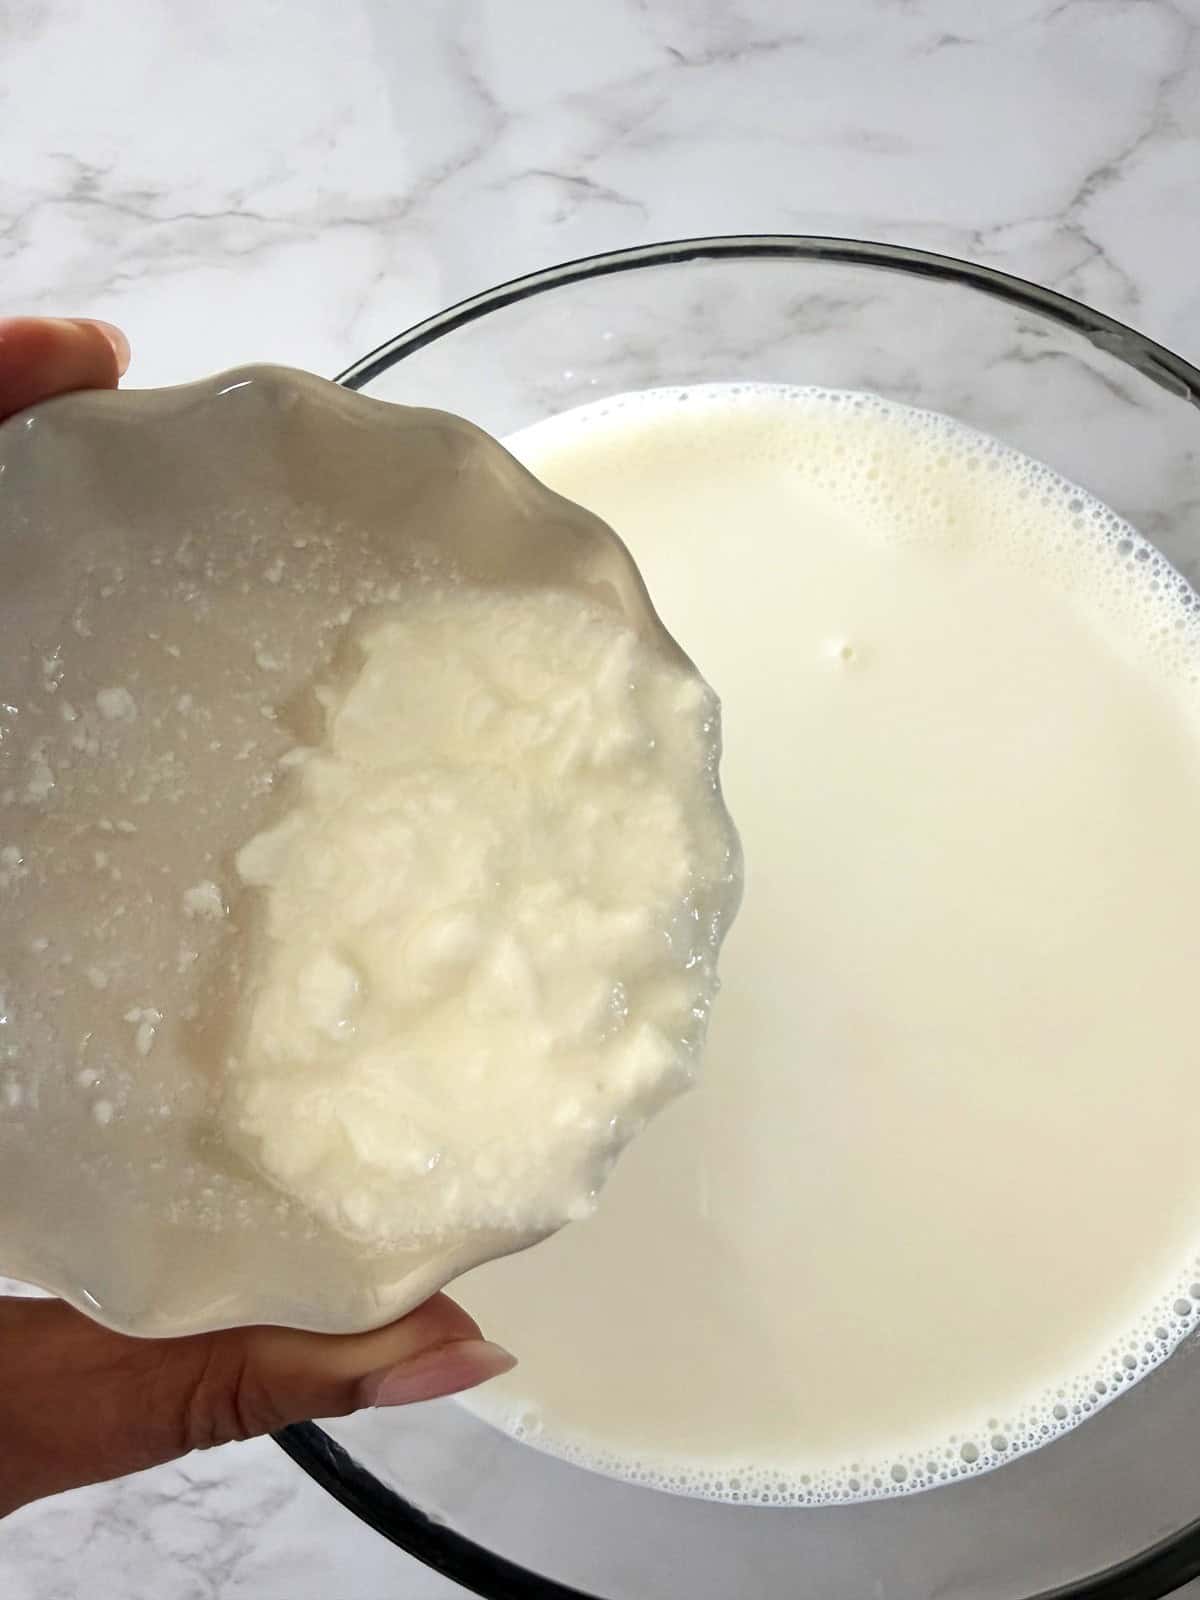
Step 5: Stir or whisk the culture into the milk well.
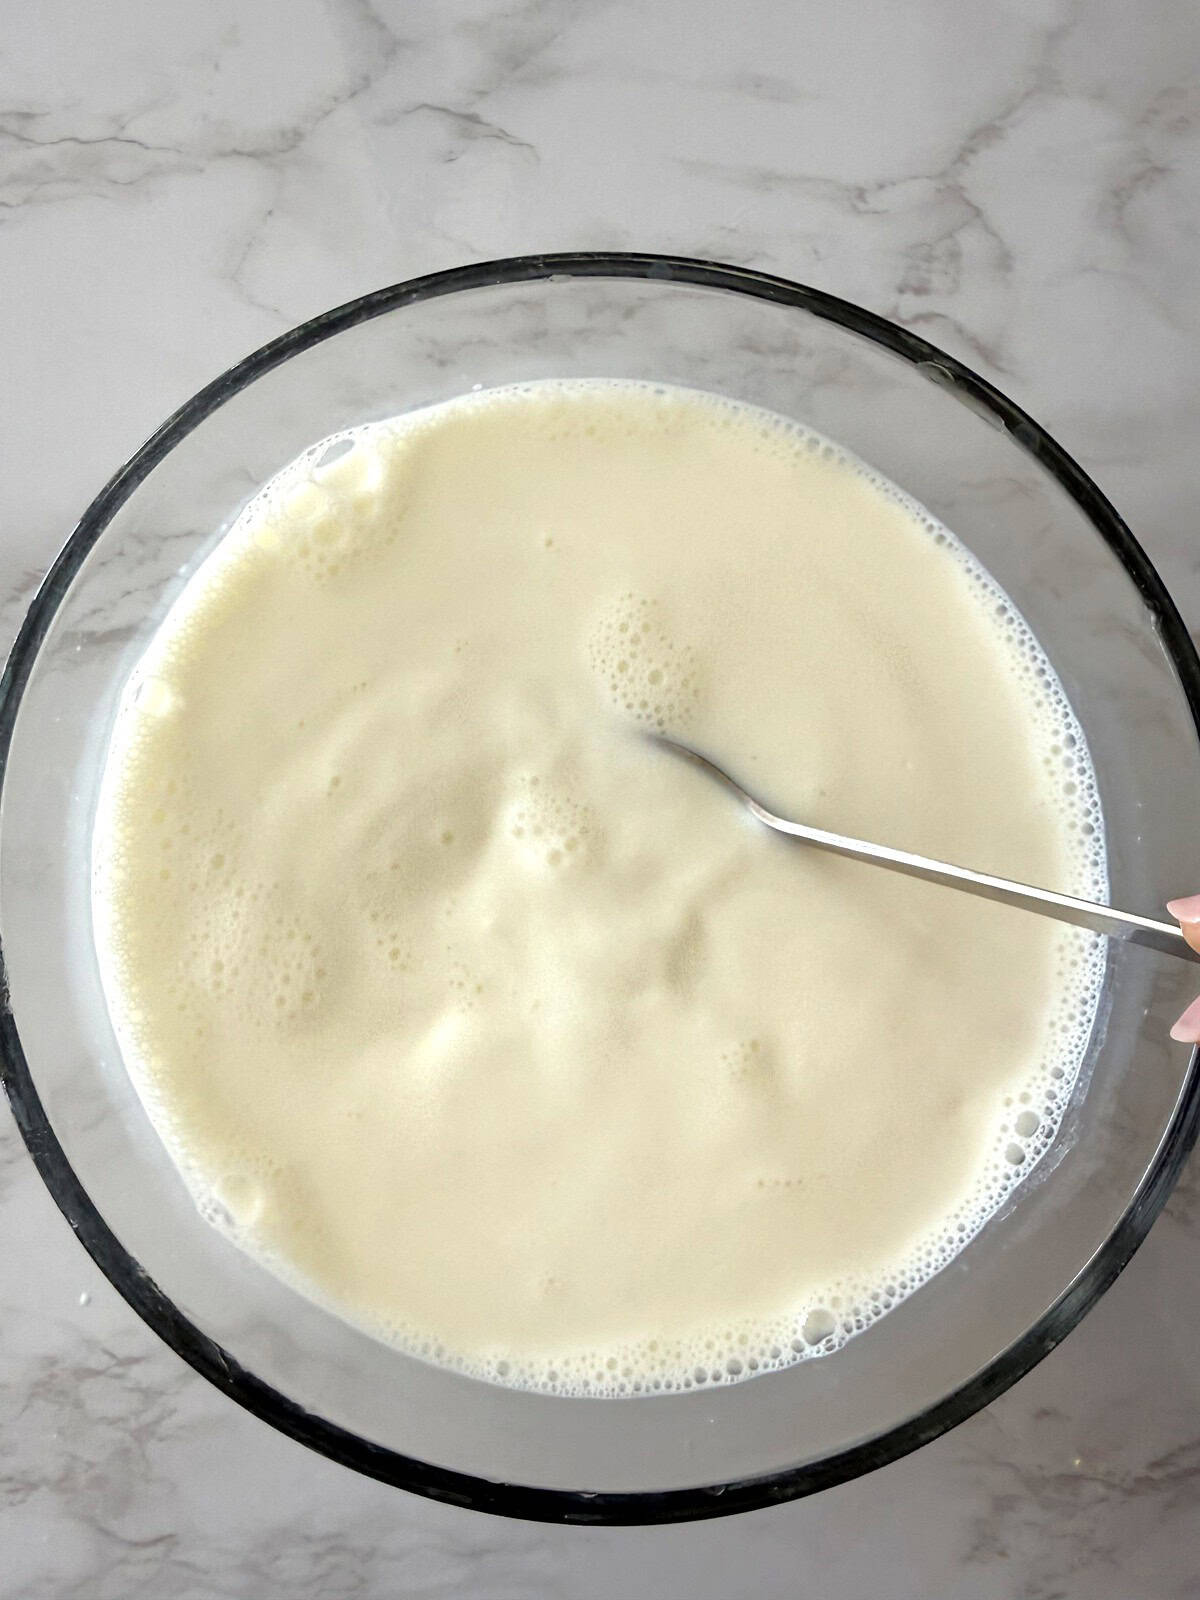
Step 6: Cover the bowl with the lid and set in a warm spot to set for 4-6 hours. I usually set the bowl inside my oven (that is not on). After about 6 hours, your dahi should be ready. Transfer to the refrigerator to set further and chill.
👉How to make dahi in Instant Pot
I prefer making yogurt using the traditional method that I shared but if you want to use Instant Pot to set dahi, here are the steps. This method takes longer.
- Pour a cup of water into the steel insert of your instant pot and place a trivet.
- Add milk to to a glass bowl that fits in your instant pot and carefully lower it on to the trivet.
- Close the Instant Pot lid with the vent in sealing position and set it to "Steam" mode for 1 minute.
- After the timer goes off, let the pressure release naturally.
- Open the Instant Pot and let the milk cool to approximately 110°F or 43°C. It will take about an hour to for the milk to cool down.
- Stir in the starter and cover the bowl with the lid (loosely).
- Set the Instant Pot to "Yogurt" mode. This will automatically set the timer to 8 hours.
- After 8 hours, the dahi is ready. Remove from the instant pot and refrigerate to set further and chill.
💭Vaishali's Tips!
- Rinse your sauce-pan with water before setting it up to heat the milk. This will prevent milk from sticking to the pan. Use only medium-high heat.
- Use full fat or whole milk. Low-fat or skim milk yogurt will not set well and will not have the characteristic dahi consistency.
- The temperature of the milk is very important. Before you add the culture or starter, the milk should be lukewarm (105-110°F (40–46°C)). To check this temperature, you can use a thermometer or perform the finger-dip test. Dip a finger (wash hands first) into the milk bowl, and count to three before the milk starts to feel hot on your finger. If the milk feels hot before you can count to three, it's too hot. Let it cool for a couple of more minutes. If it has cooled down, microwave it for 30 seconds and test again.
- If a skin forms on the milk (malai in India), you can remove it or strain the milk through a fine-mesh sieve before adding it to the bowl.
- Ask your friends for the starter - chances are that you know someone who makes yogurt at home. If you are local, get in touch with me ! If not, start with store-bought, whole-milk yogurt with "live culture," and over time, you will get to a taste and consistency that is familiar and homely.
- Don't be disheartened if your first batch fails. Great dahi is built through repetition and experience. Try different milk brands, different starter quantities, and different corners of your kitchen. A few batches in, you will know exactly what works for you.
🫙Storage instructions
Store the dahi in the bowl you set it in your refrigerator. It stays good for up to 3-5 days. Then it's time to make a fresh batch!
🌡️ How to Set Dahi in a Cold Kitchen
The goal is simple: keep the dahi as close to 105–115°F (40–46°C) as possible for the entire time while it is "setting" without disturbing it. Here are the most reliable methods, starting with the easiest.
- The Oven Light Method: Turn on your oven light and leave the door closed for 10 minutes to let the temperature build up slightly. Then place your covered dahi container inside, close the door, and leave it undisturbed for 6–8 hours.
- The Towel Wrap Method After adding the starter and covering your dahi container, wrap it tightly in a thick kitchen towel. Place the wrapped container in the warmest spot in your kitchen, away from drafts and cold windows.
- The Instant Pot Method If you have an Instant Pot with a yogurt setting, this is the easiest hands-off option. See the instructions above.
🔧 Troubleshooting — Why Didn't My Dahi or Yogurt Set?
- My dahi didn't set at all — it's still liquid Most likely the milk was too hot when you added the starter, which killed the live cultures. Start again, and this time use the finger test — the milk should feel warm and comfortable, not hot. The second most common cause is a weak starter. If your store-bought yogurt has been sitting in the fridge for a while, the cultures may no longer be active. Use a fresh container.
- My dahi is too sour Two causes: too much starter was used, or the dahi was left to ferment for too long.
- My dahi is too watery or thin Low-fat milk is almost always the culprit. Switch to whole milk. The second cause is insufficient heating — if the milk was not brought up to near-boiling before cooling and adding the starter, the yogurt will not set thick.
- My dahi is grainy or lumpy The starter was added when the milk was still too hot, partially cooking the yogurt proteins before they could culture properly. Cool the milk further before adding the starter next time.
❓FAQs
Yes. Any plain, unflavored store-bought yogurt with live active cultures works as a starter for your first batch. Look for "live active cultures" on the label. Flavored, sweetened, or Greek yogurt should not be used as a starter. If you have an Indian grocery store near you, you can also use the starter from Indian yogurt or dahi. Once your first batch is set, save 2 tablespoons from it to start your next batch, and your dahi will develop a more traditional flavor over time.
In a warm kitchen or in warm weather, yogurt typically sets in 4–6 hours. In a cool or air-conditioned kitchen, or during winter, it can take up to 10 hours. The setting time depends almost entirely on temperature; the warmer the environment, the faster the fermentation. Once the dahi is set and has a firm, wobbly consistency, move it to the refrigerator immediately to stop the fermentation and prevent it from becoming sour.
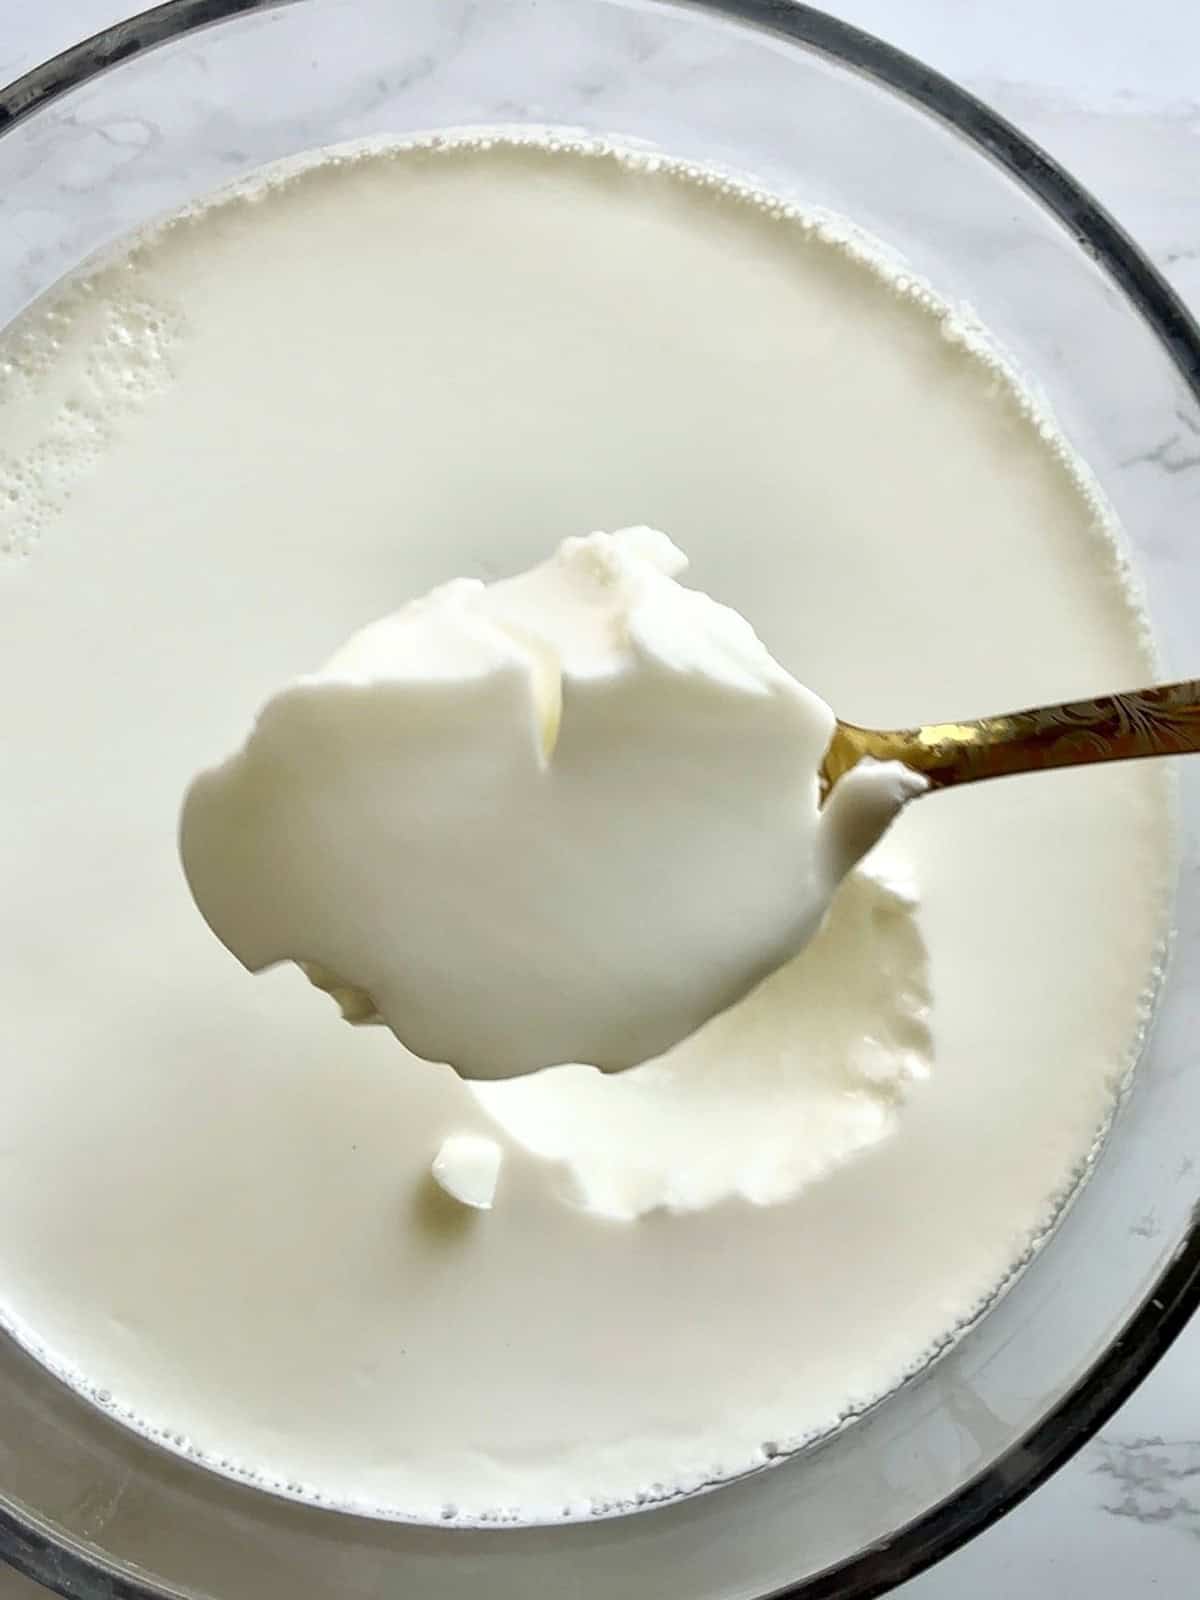
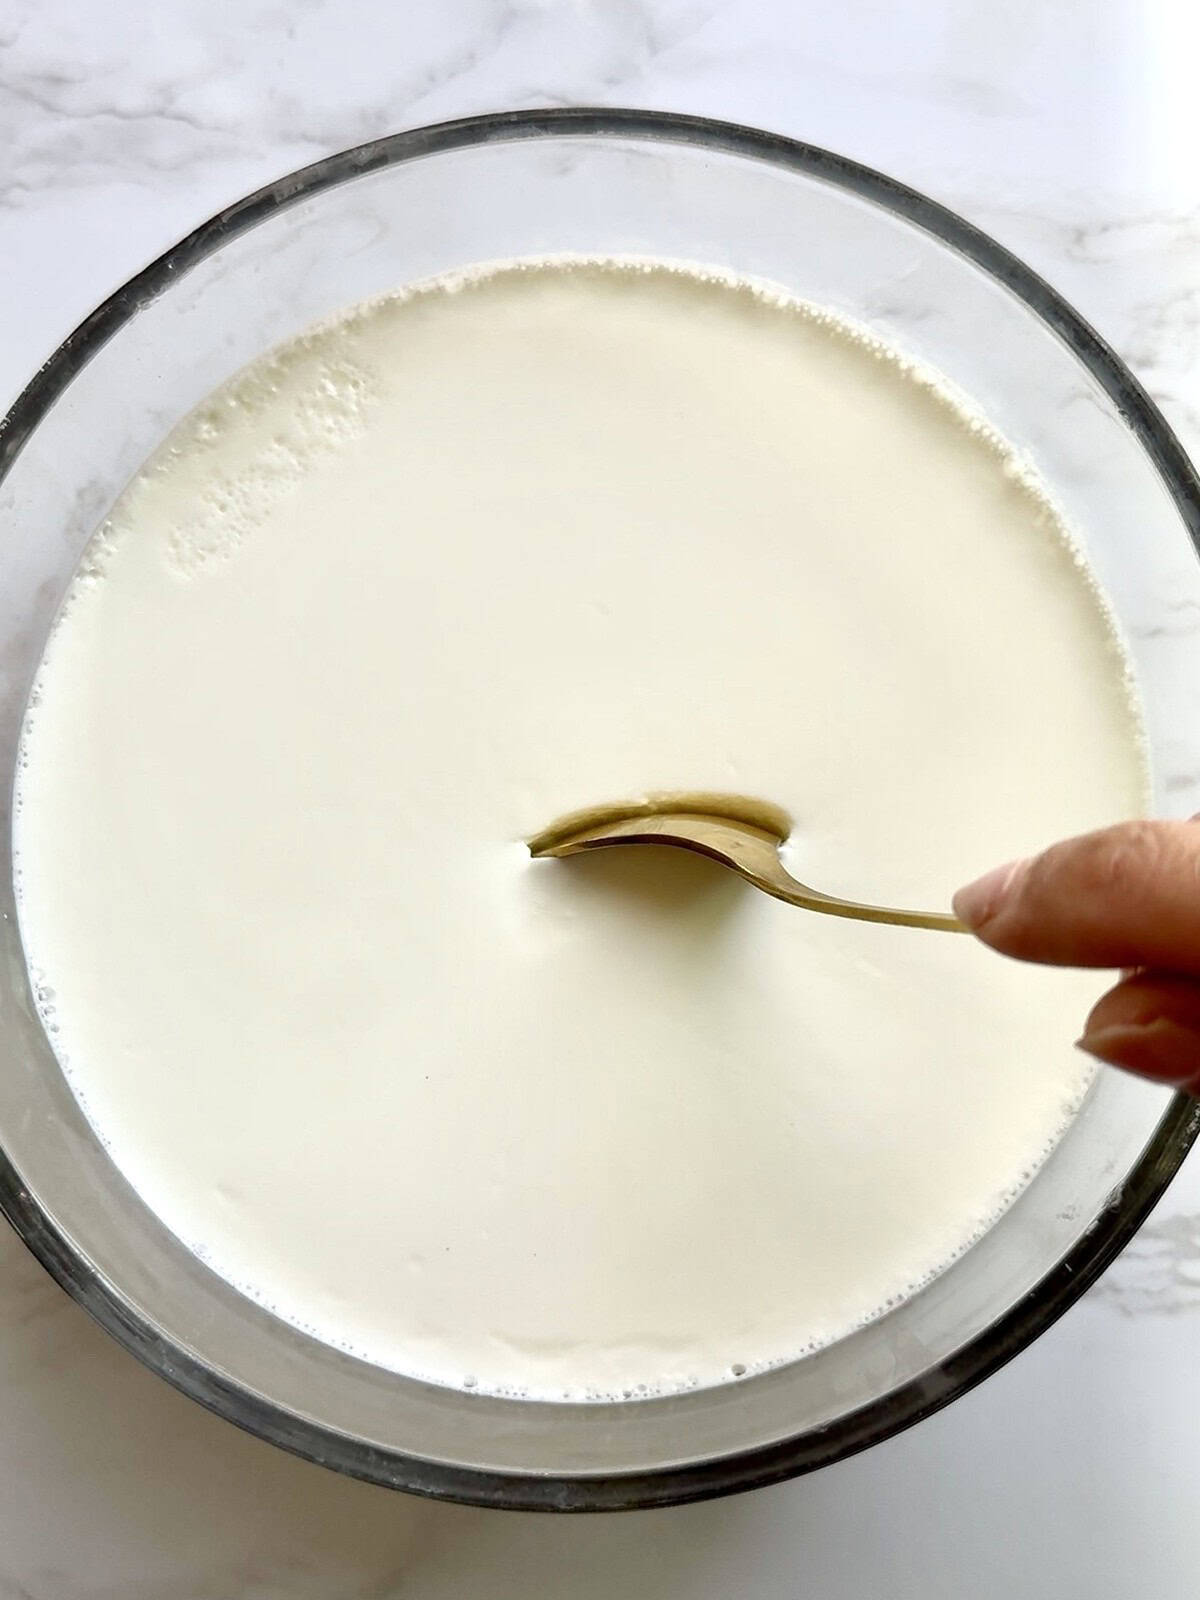
When you take the bowl out, the yogurt should look set, not liquid or wobbly at all. You can insert a clean spoon into the dahi; if it leaves a clean impression (as in the picture above), the dahi is ready. Do not stir or disturb the dahi while it is setting, as this breaks the curd structure.
This can happen if you added too much starter culture or if it was left to set for too long.
Homemade dahi keeps well in the refrigerator for 4–5 days in an airtight container. Always use a clean, dry spoon to serve it. As it sits, it will gradually become more sour, which is perfectly normal. Slightly sour dahi is ideal for cooking — use it in kadhi, marinades, or raita where the tanginess adds flavor.
Related
Looking for other recipes like this? Try these:



If you make this recipe be sure to leave a comment and let me know how you liked it! Share it on Instagram with the hashtag #thekitchendocs or share on Facebook, too.
Love – Vaishali
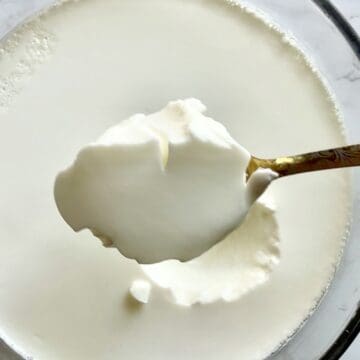
Homemade Dahi Recipe (Indian Yogurt)
Equipment
Ingredients
- 4 cups whole milk
- 1.5 tablespoon starter culture or any yogurt with live culture
Instructions
- Set a heavy bottom stainless steel saucepan on medium high heat and add 4 cups whole milk to it. Heat the milk to just below a full rolling boil.
- Pour the milk into the container that you going to set your yogurt or dahi in. I recommend using a glass bowl with a lid. But any container with a lid should work.
- Wait for a few minutes for the milk to cool down to a temperature of 105-110°F (40–46°C). You can use a thermometer for this, or simply wash your hands, dip a finger into the milk bowl, and count to three before the milk starts to feel hot on your finger.
- Add the 1.5 tbsp starter culture to the cooled milk.
- Stir or whisk the culture into the milk well.
- Cover the bowl with the lid and set in a warm spot to set for 4-6 hours. I usually set the bowl inside my oven (that is not on). After about 6 hours, your dahi should be ready. Transfer to the refrigerator to set further and chill.
Video
Notes
- Rinse your sauce-pan with water before setting it up to heat the milk. This will prevent milk from sticking to the pan. Use only medium-high heat.
- Use full fat or whole milk. Low-fat or skim milk yogurt will not set well and will not have the characteristic dahi consistency.
- The temperature of the milk is very important. Before you add the culture or starter, the milk should be lukewarm (105-110°F (40–46°C)). To check this temperature, you can use a thermometer or perform the finger-dip test. Dip a finger (wash hands first) into the milk bowl, and count to three before the milk starts to feel hot on your finger. If the milk feels hot before you can count to three, it's too hot. Let it cool for a couple of more minutes. If it has cooled down, microwave it for 30 seconds and test again.
- If a skin forms on the milk (malai in India), you can remove it or strain the milk through a fine-mesh sieve before adding it to the bowl.
- Ask your friends for the starter - chances are that you know someone who makes yogurt at home. If you are local, get in touch with me ! If not, start with store-bought, whole-milk yogurt with "live culture," and over time, you will get to a taste and consistency that is familiar and homely.
- Don't be disheartened if your first batch fails. Great dahi is built through repetition and experience. Try different milk brands, different starter quantities, and different corners of your kitchen. A few batches in, you will know exactly what works for you.
- Instant Pot instructions are given in the blog post above.




Leave a Reply